Impression 3d de monde Minetest via Meshport et Blender
-
Minetest : Version 5.8.0
https://www.minetest.net/ -
Blender : Version 3.6.7
https://www.blender.org/ -
Cura : 4.4.1
https://ultimaker.com/fr/software/ultimaker-cura/ -
Meshport :
https://github.com/random-geek/meshport
I/ Installation de mod Meshport.
1/ Lancer Minetest.
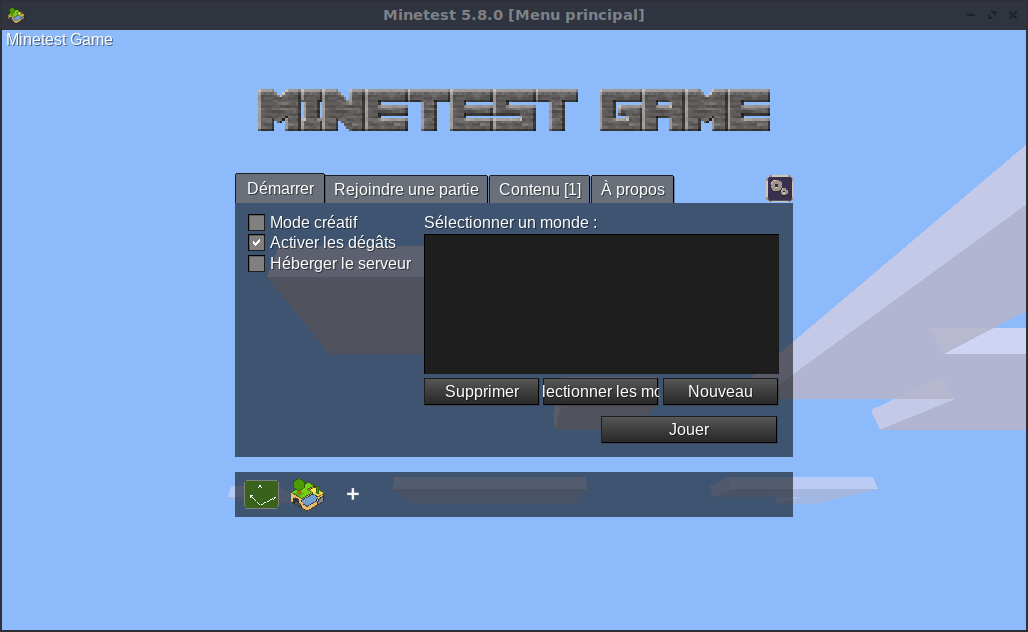
2/ Créer un monde plat.
Cliquer sur le bouton [Nouveau].
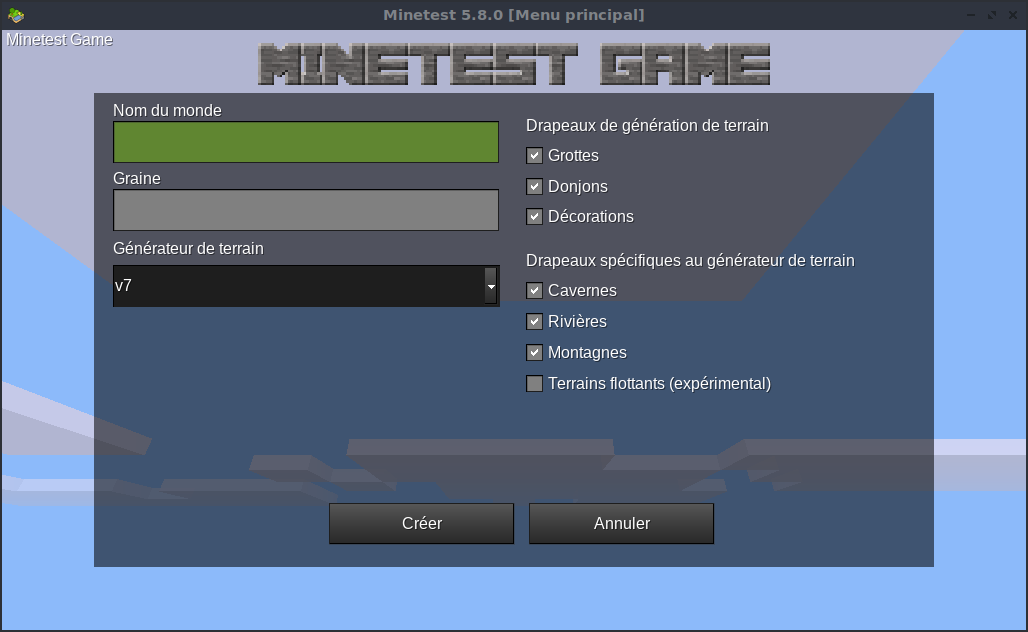
Indiquer le nom du monde, par exemple : plat Ainsi que le générateur de terrain : flat
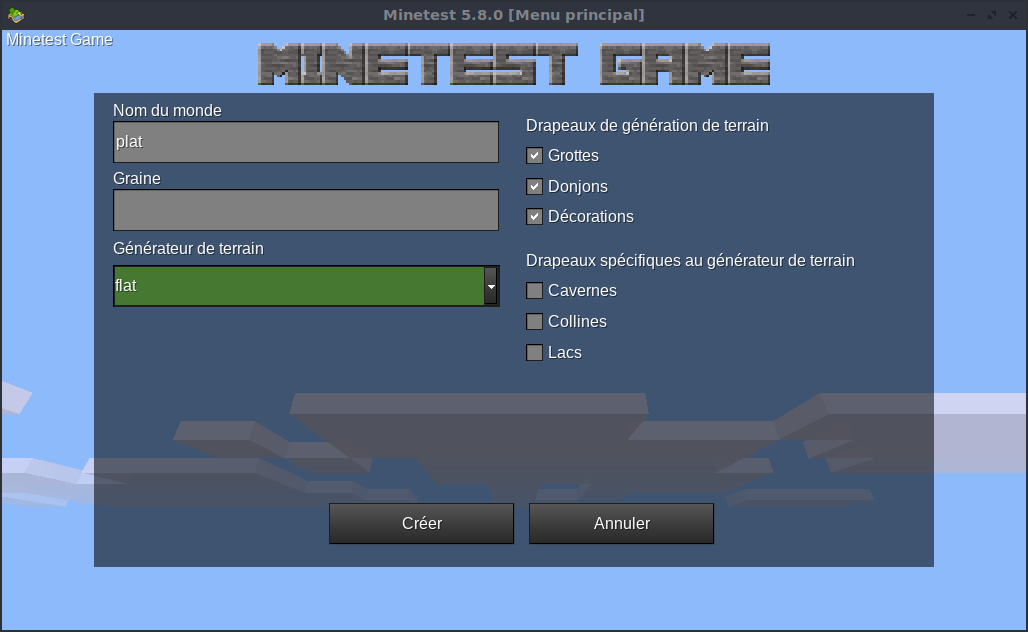
Valider en cliquer sur [Créer].
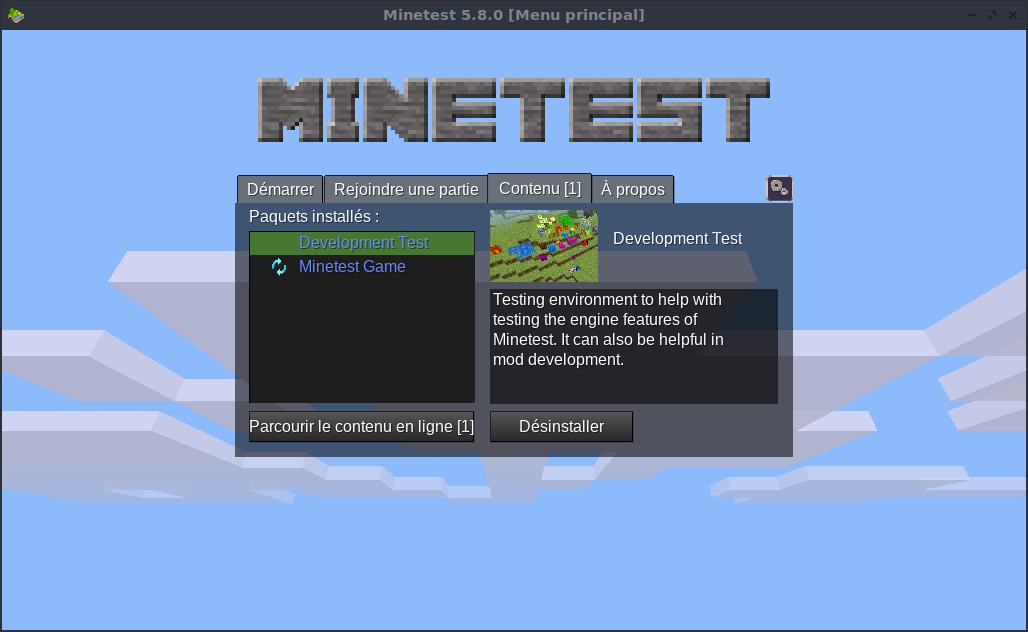
3/ Installer le mod Meshport.
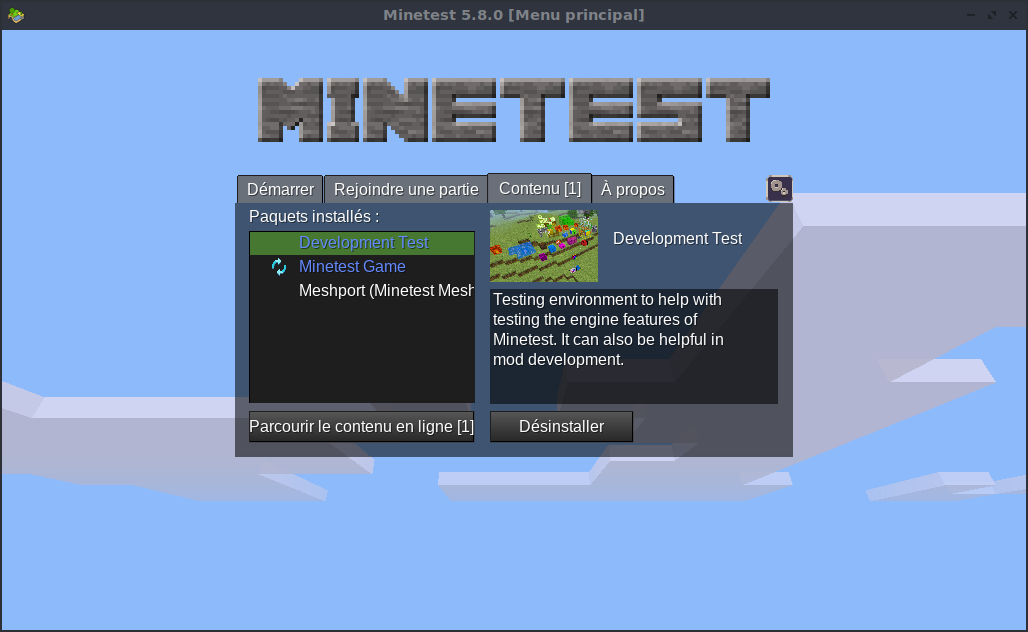
- Cliquer sur l'onglet [Contenu] :
Soit :
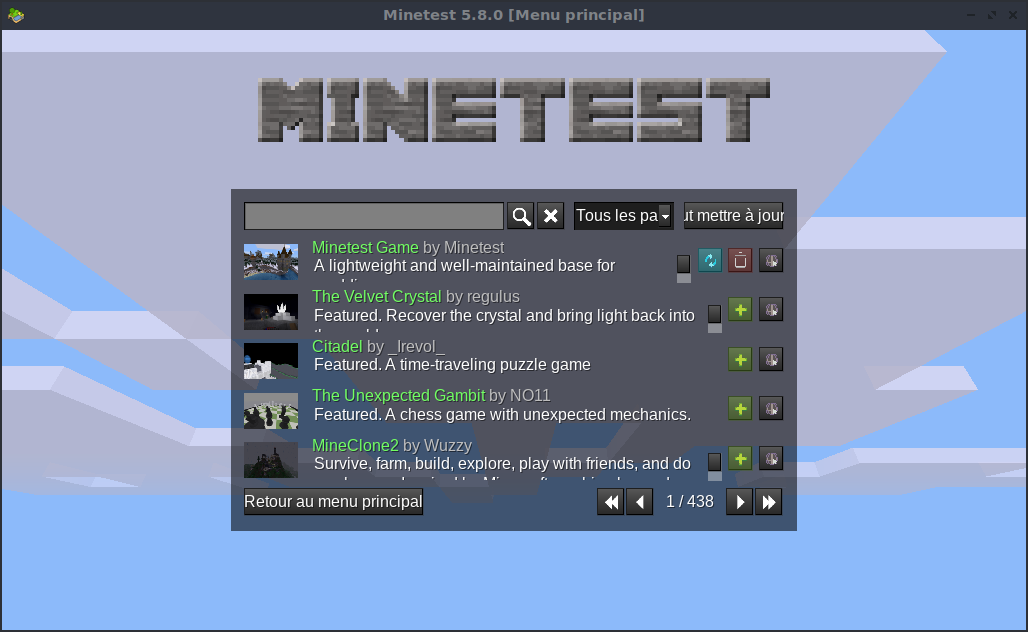
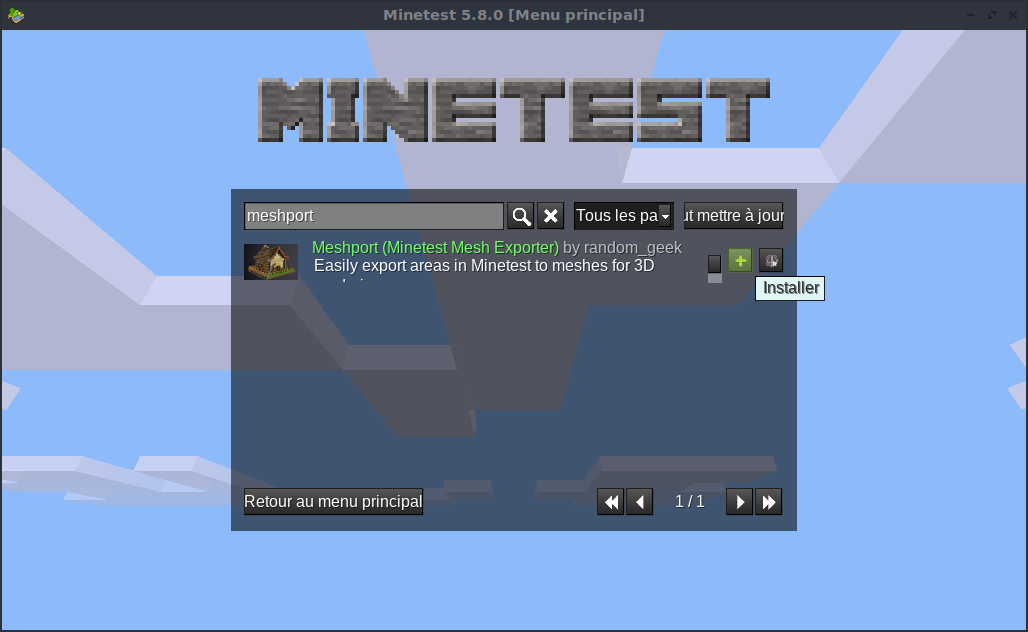
- Dans le champs de recherche, indiquer le nom du mod : meshport

Puis cliquer sur l'icône loupe :
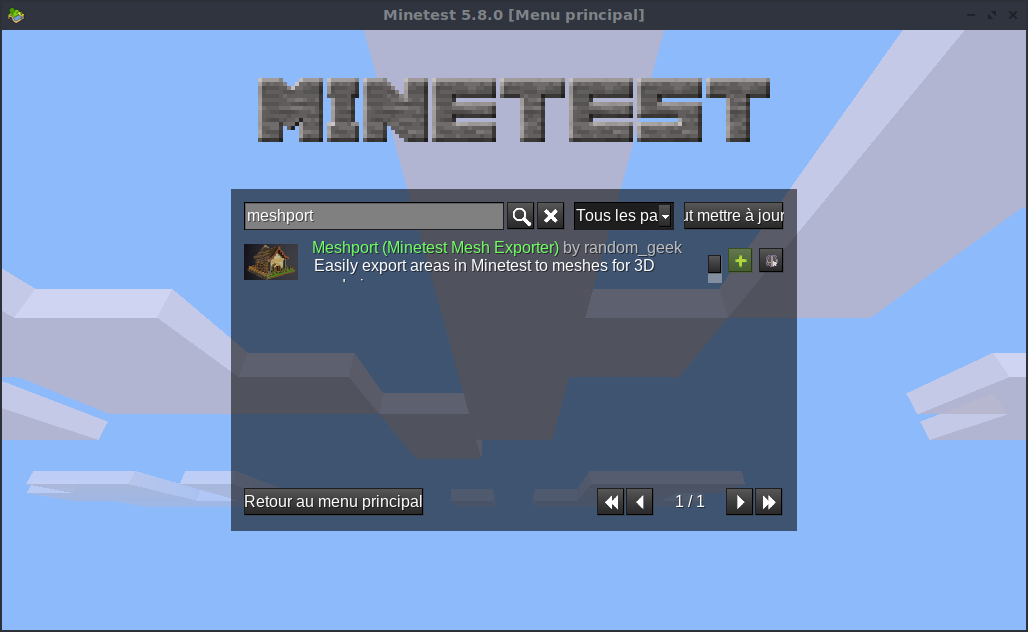
Ensuite cliquer sur l'icône [+] pour installer le mod :
Le mod est installé :
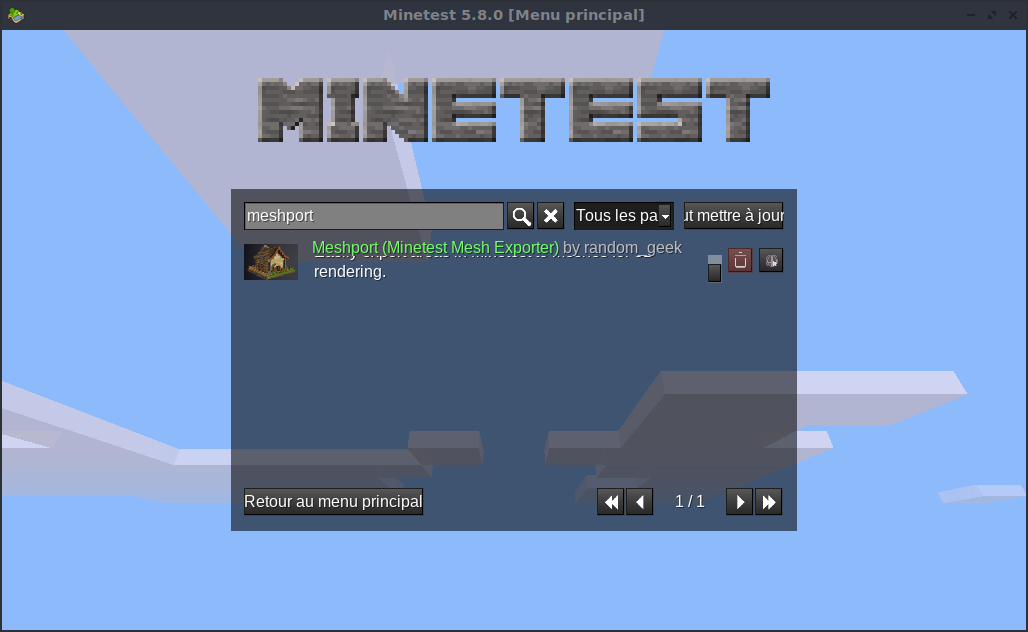
Revenir au menu principal :
- Cliquer sur l'ongler [Démarrer] :
- Cliquer sur le bouton [Sélectionner les modules]

Soit :
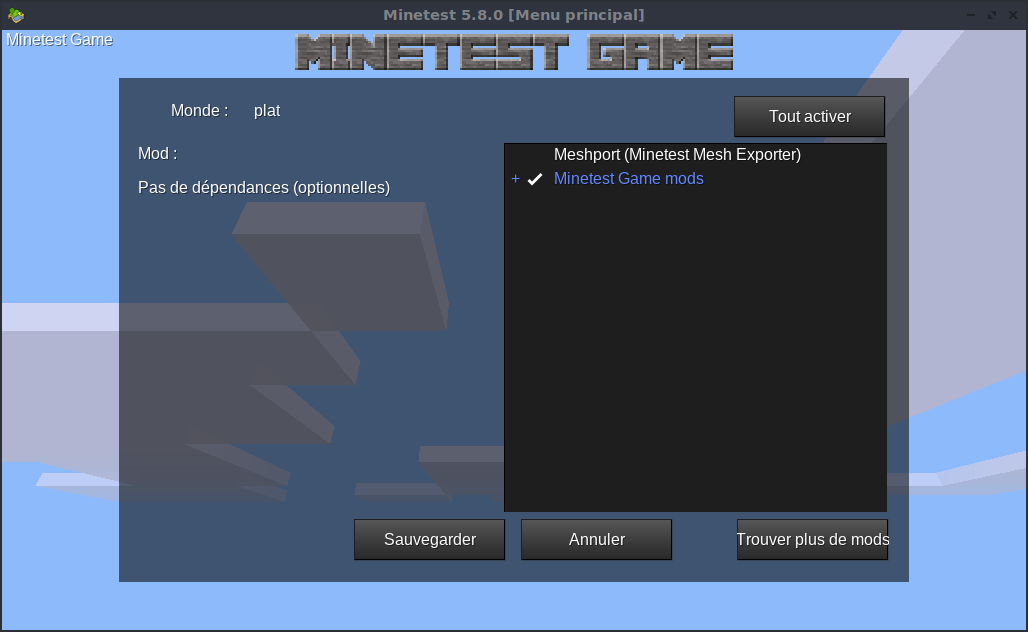
- Sélectionner le mod : Mesport (Minetest Mesh Exporter)
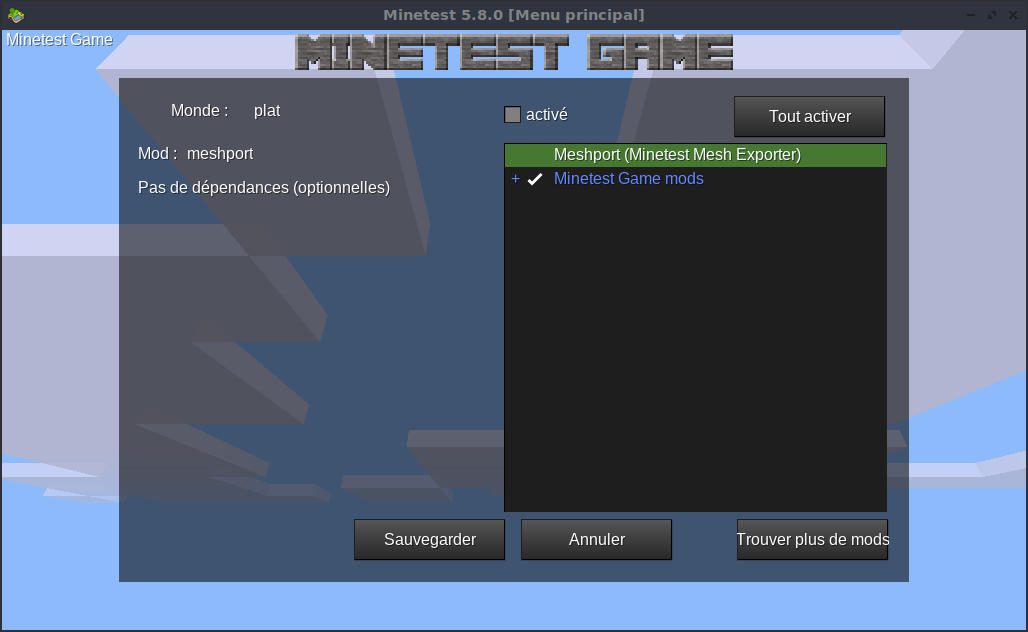
Soit :
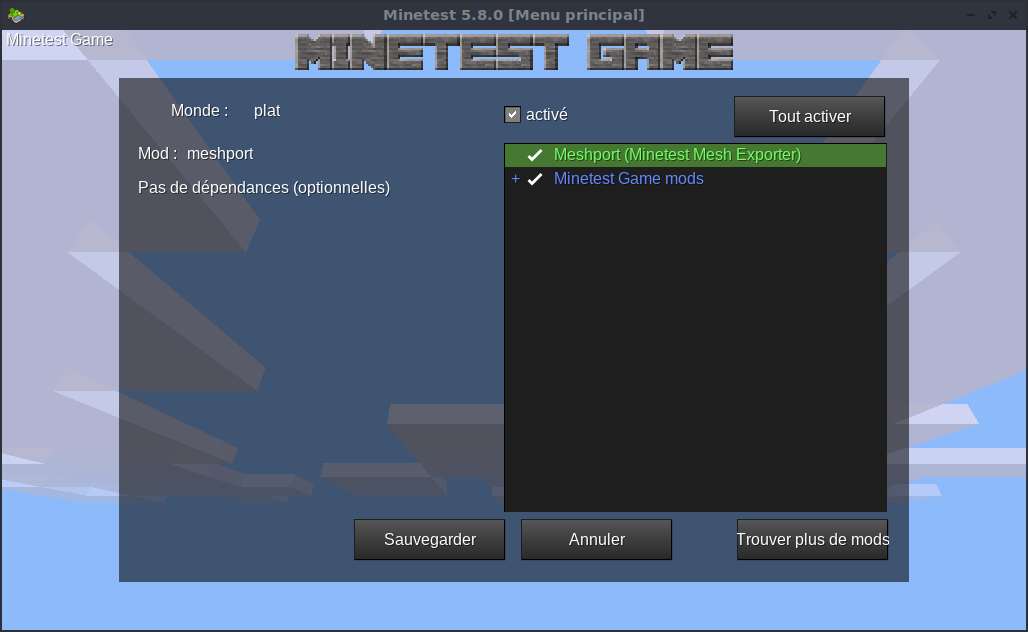
- Vous pouvez ensuite jouer dans le monde nommé 'plat' :

4/ Utilisation de Meshport.
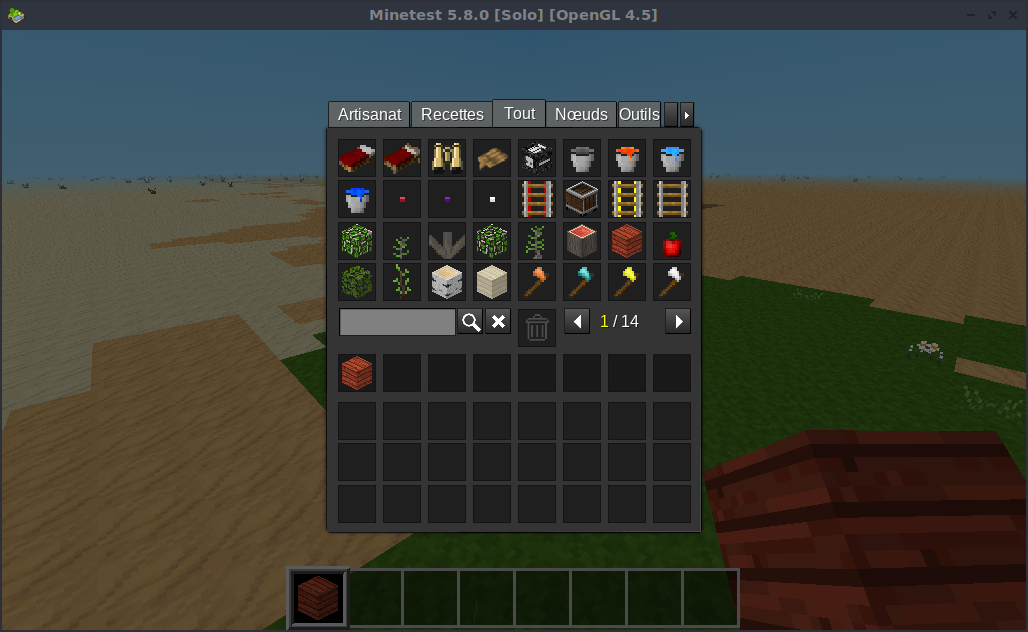
- Afficher l'inventaire en appuyant sur la touche [I] :
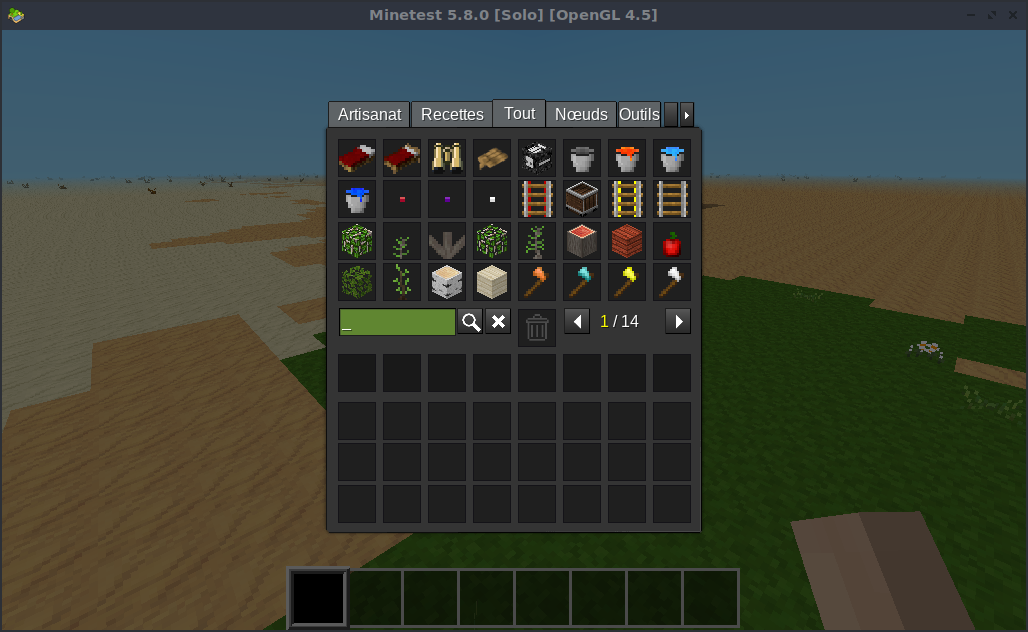
- Sélectionner le bloc : Planche d'acacia
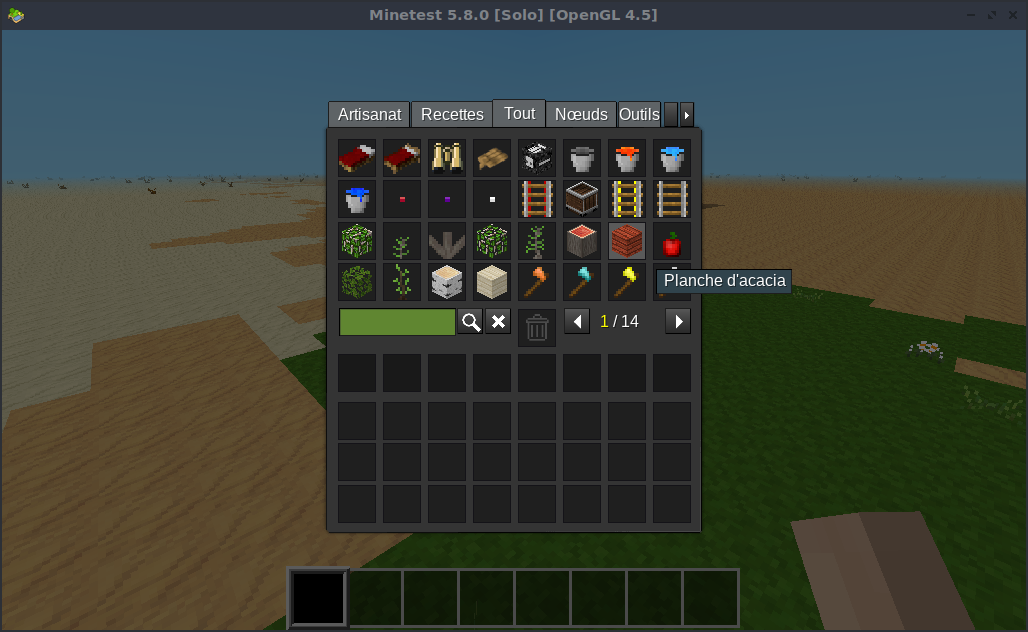
- Mettre le bloc dans la zone des bloc utilisable par le joueur :
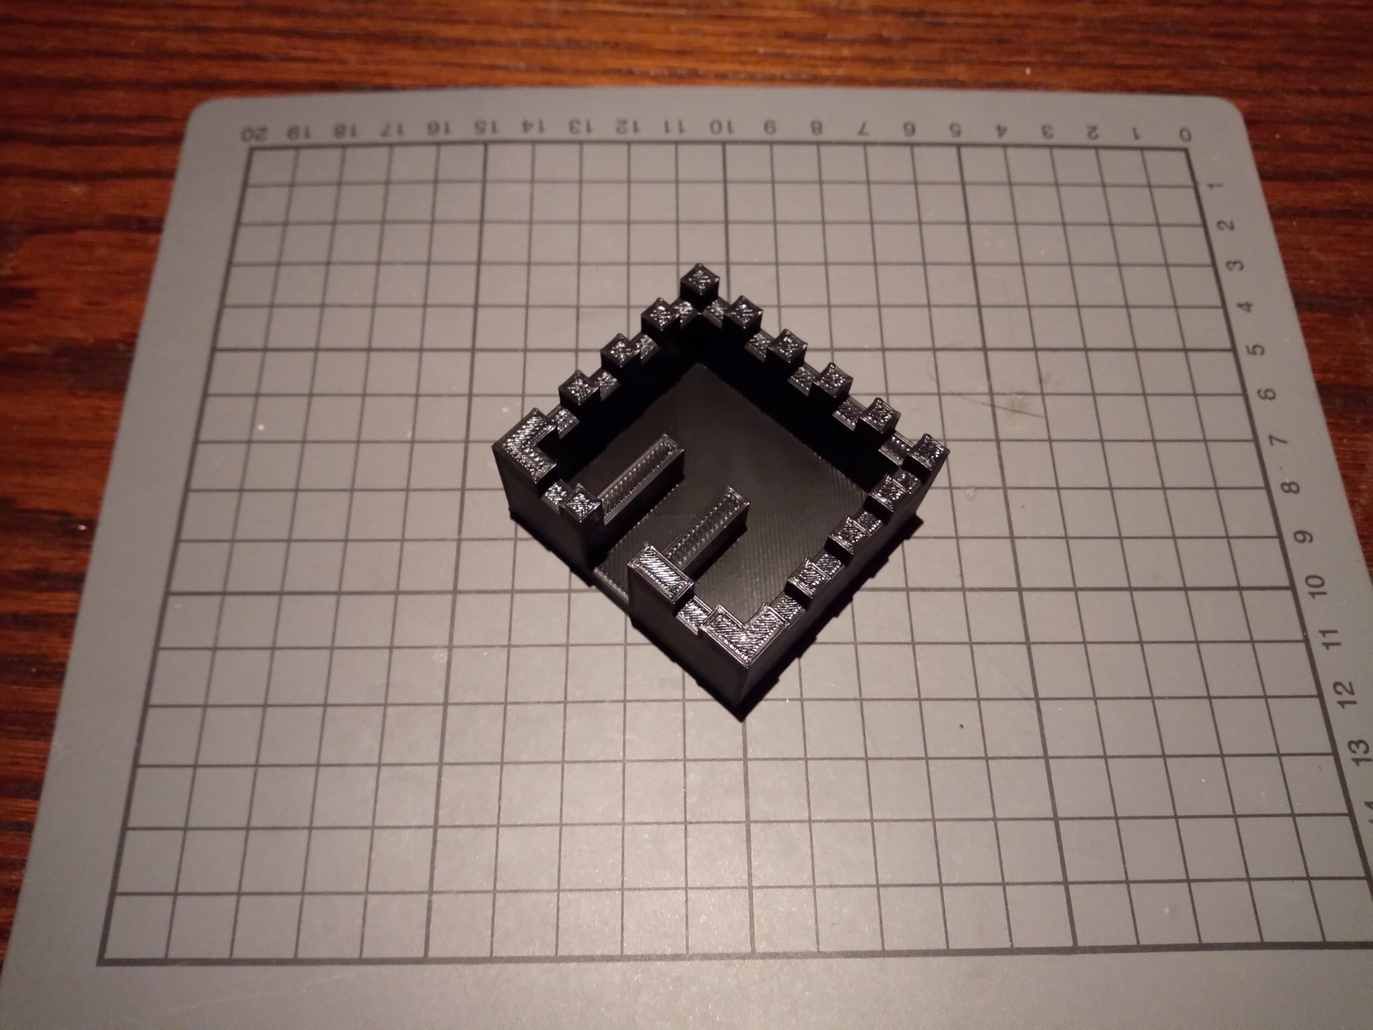
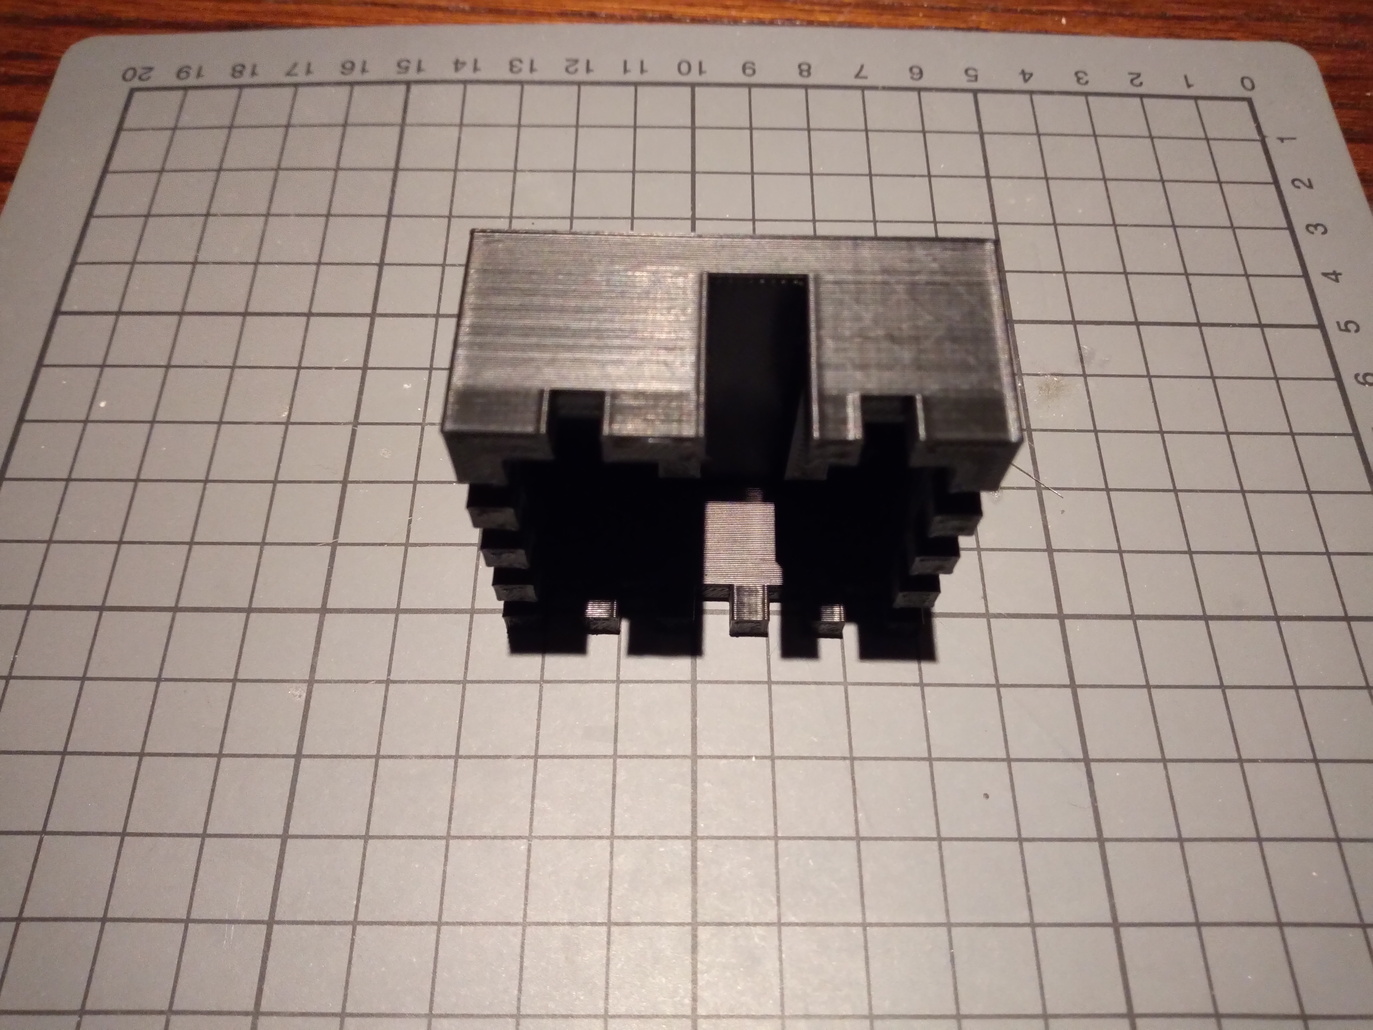
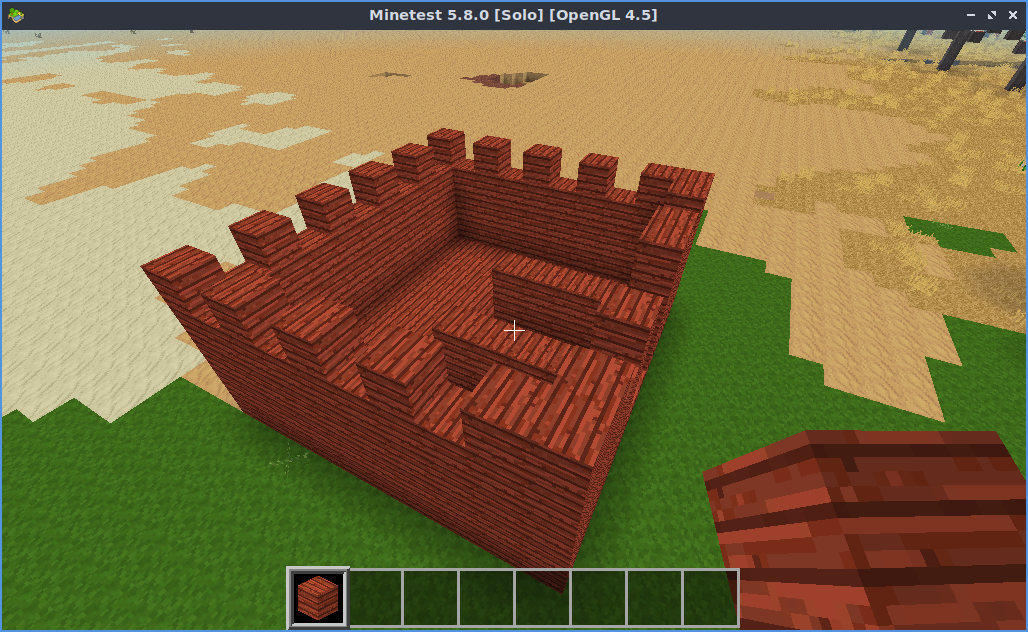
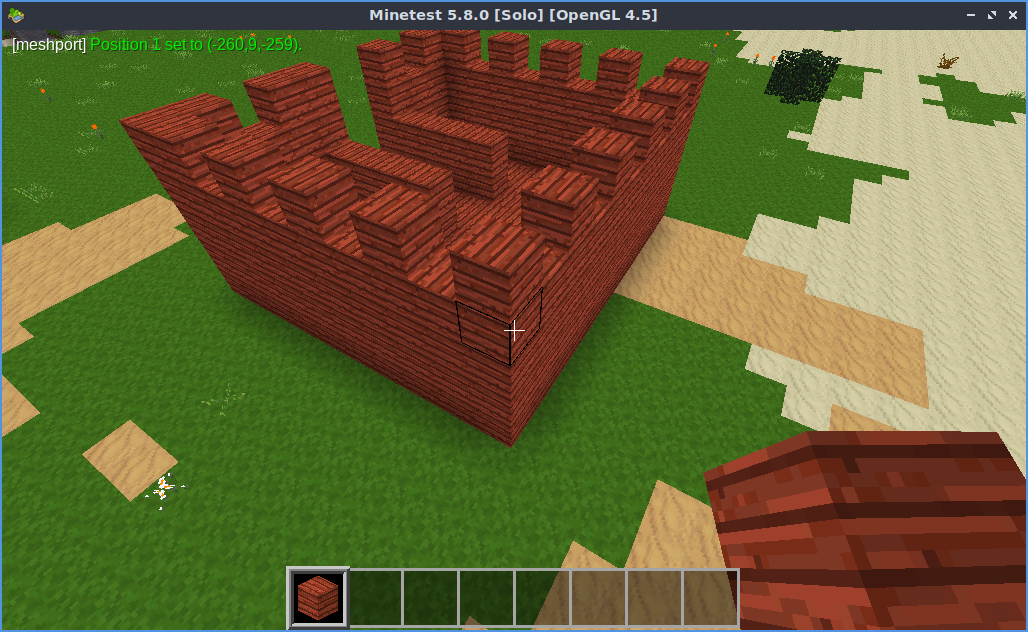
- Créer ensuite une construction, ici un mini-château :
5/ Activer toutes les permissions pour le joueur.
- Appuyer sur la touche [T] pour afficher la fenêtre de discussion :
- Taper la commande :
/grantme all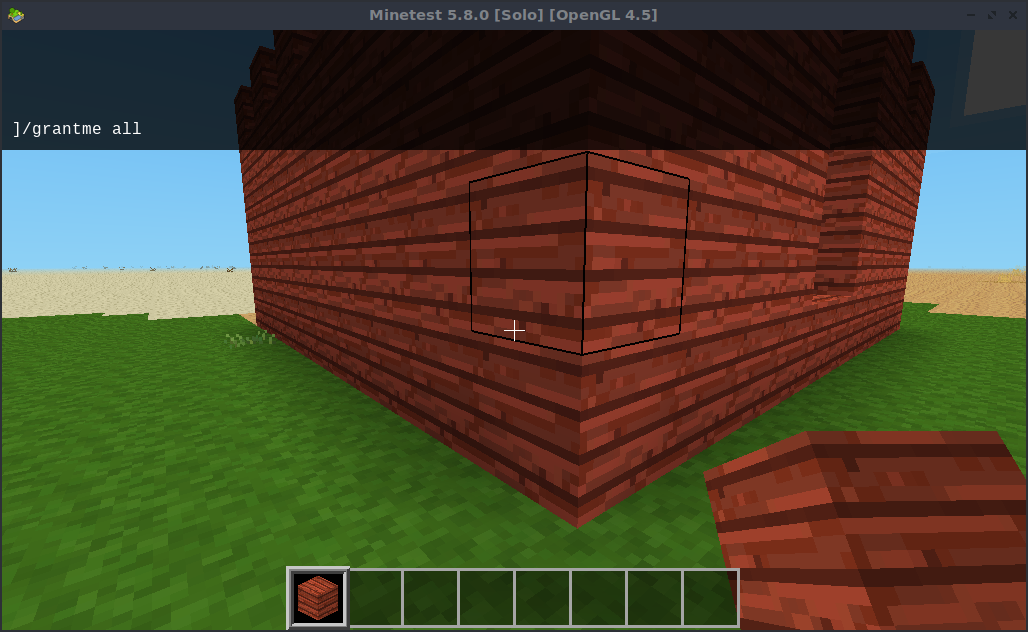
Soit :
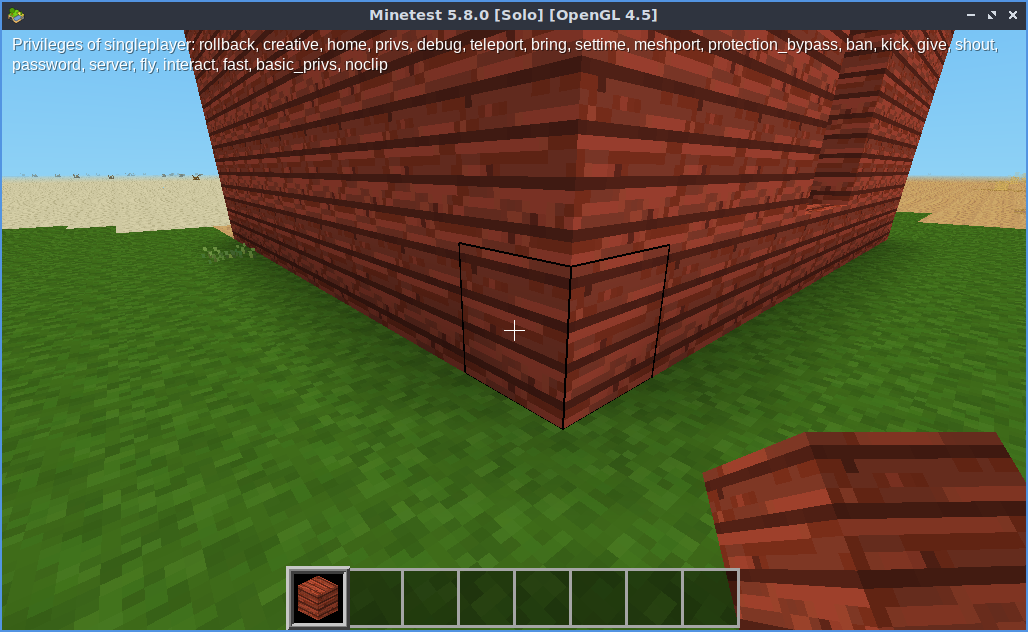
6/ Délimiter la zone du monde à exporter.
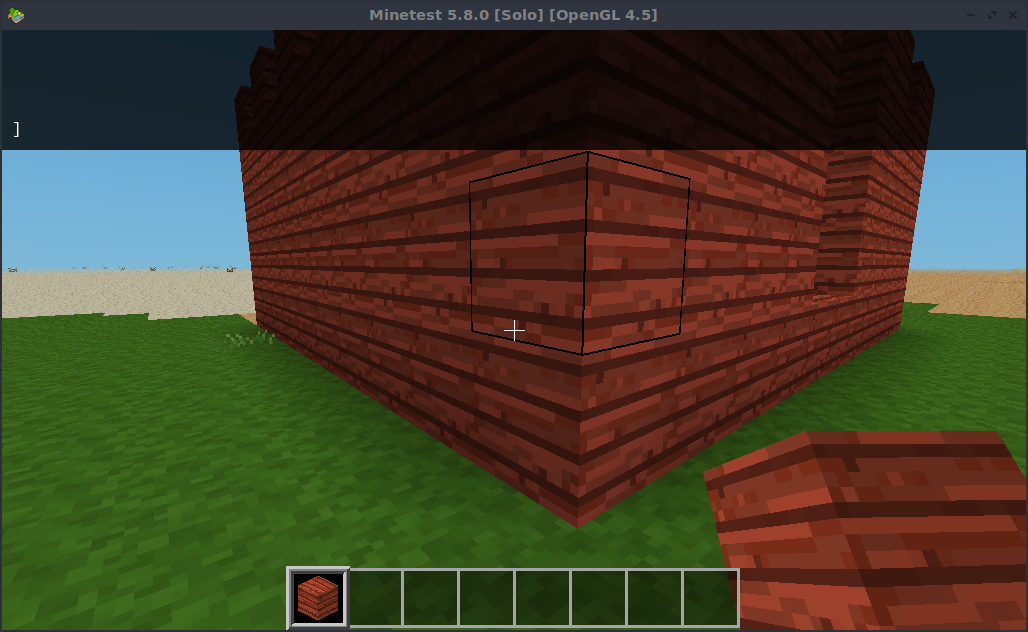
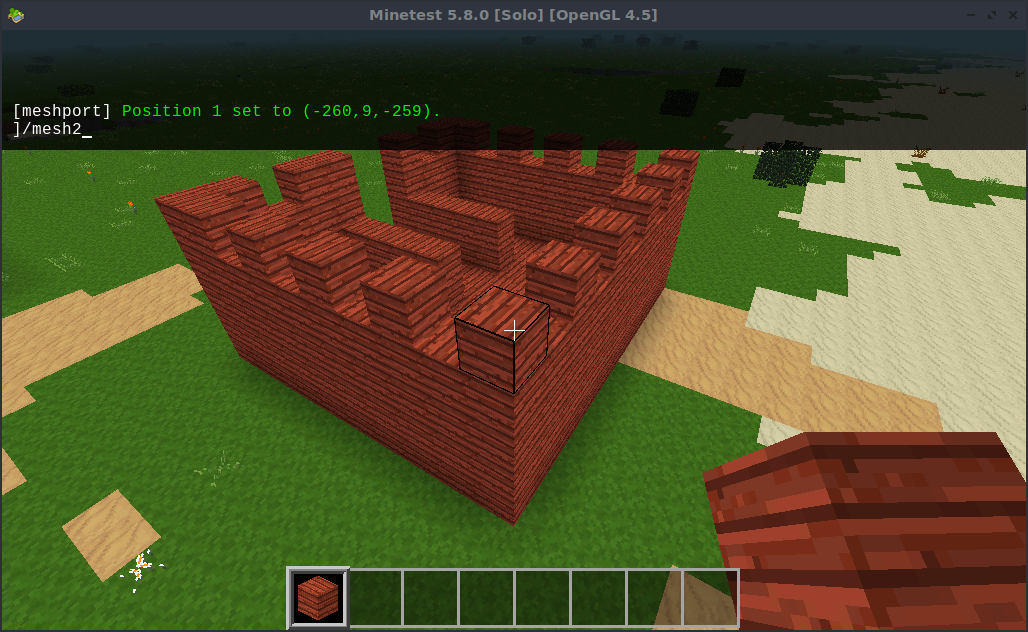
- On va donc exporter le château en se plaçant en bas du volume qui doit contenir la construction. Puis, via la fenêtre de dialogue, taper la commande :
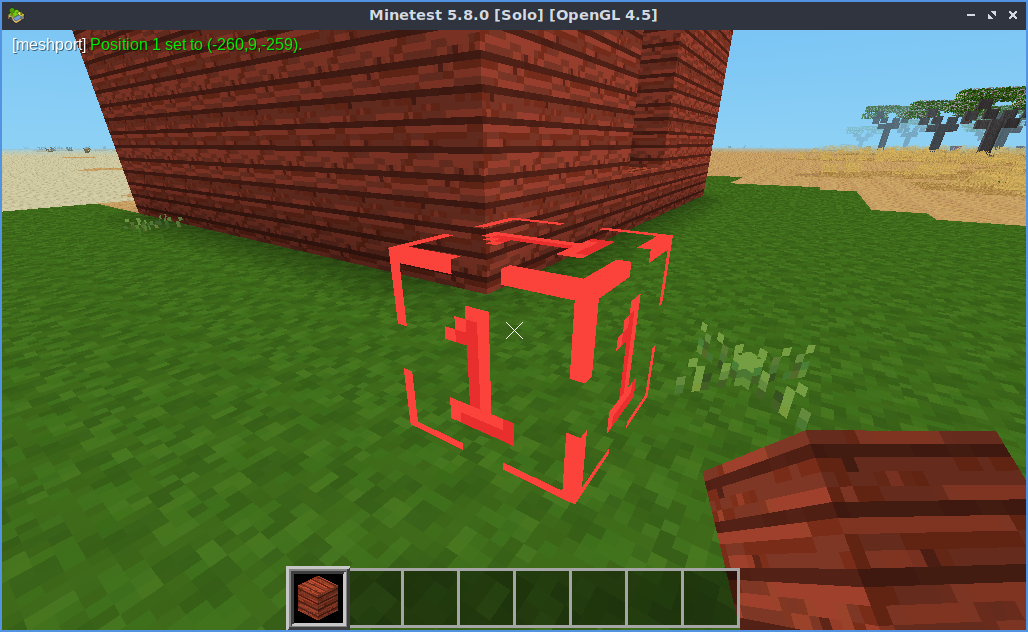
/mesh1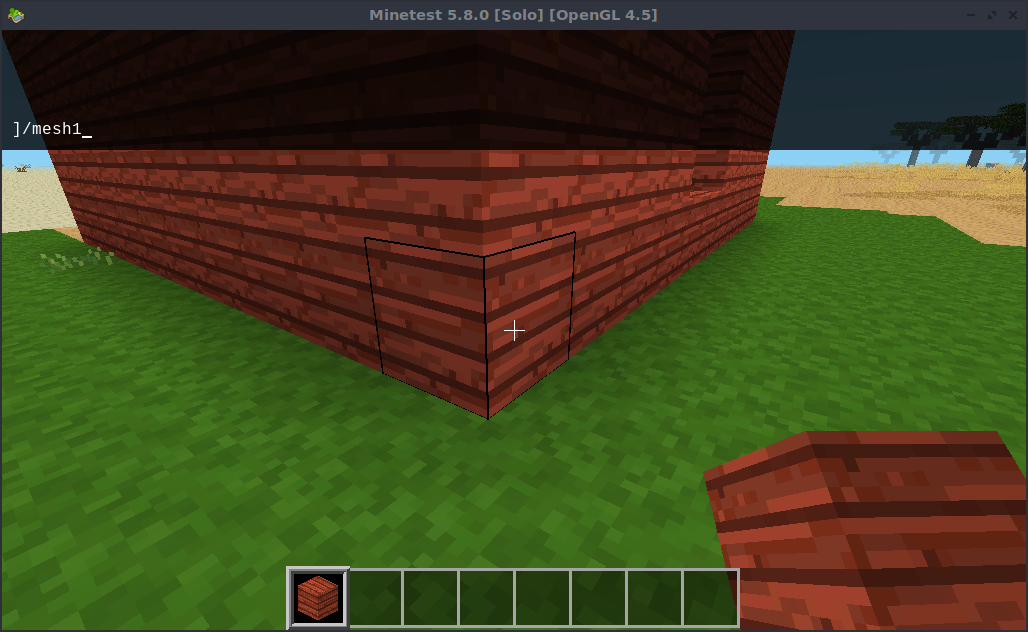
Un bloc transparent au bortd rouge apparaît devant le joueur :
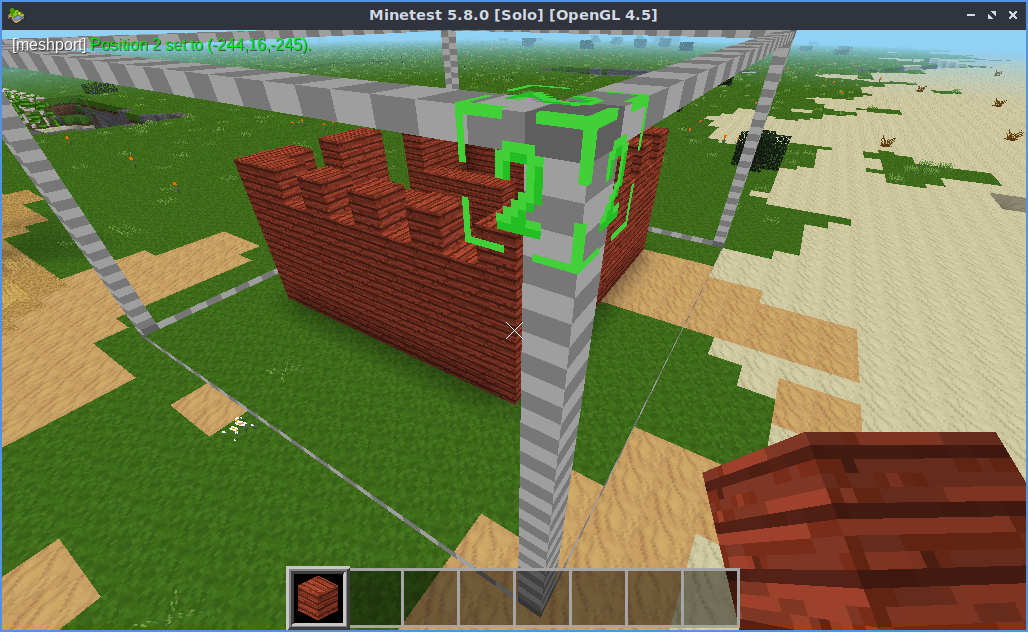
- Se placer en haut du volume qui doit contenir la construction :
- Puis, via la fenêtre de dialogue, taper la commande :
/mesh2Un cube transparent avec des bords vert apparaît devant le joueur :
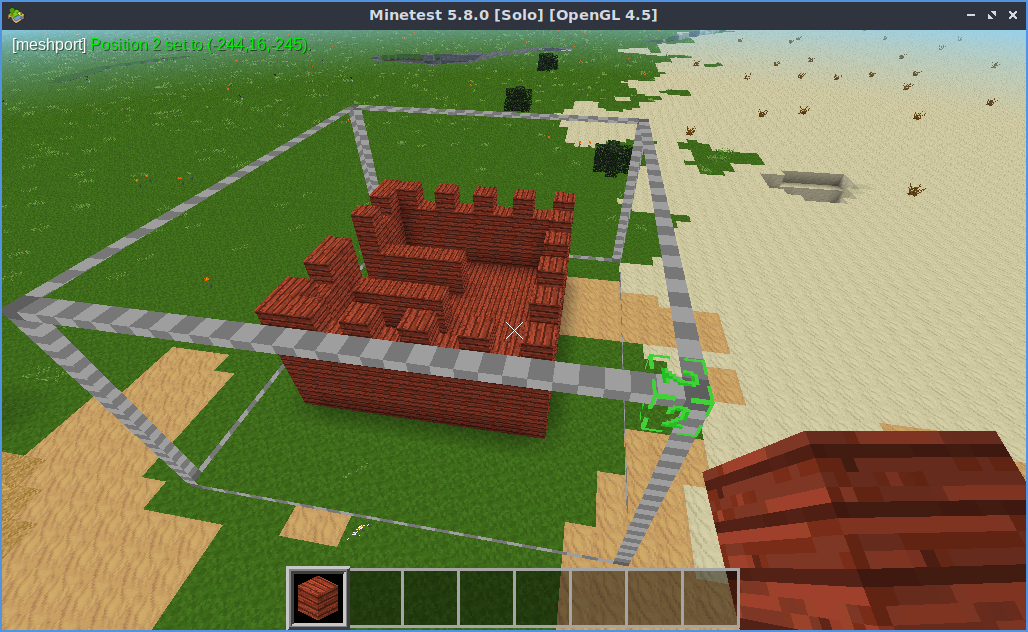
On obtient un volume qui contient la construction . Le volume est délimité par des lignes grises.
-
Il y a d'autre manière de créer un volume sélecteur d'objet, cf. la documentation de Meshport.
-
Pour export la construction, dans la fenêtre de dialogue, taper la commande suivante :
/meshport chateau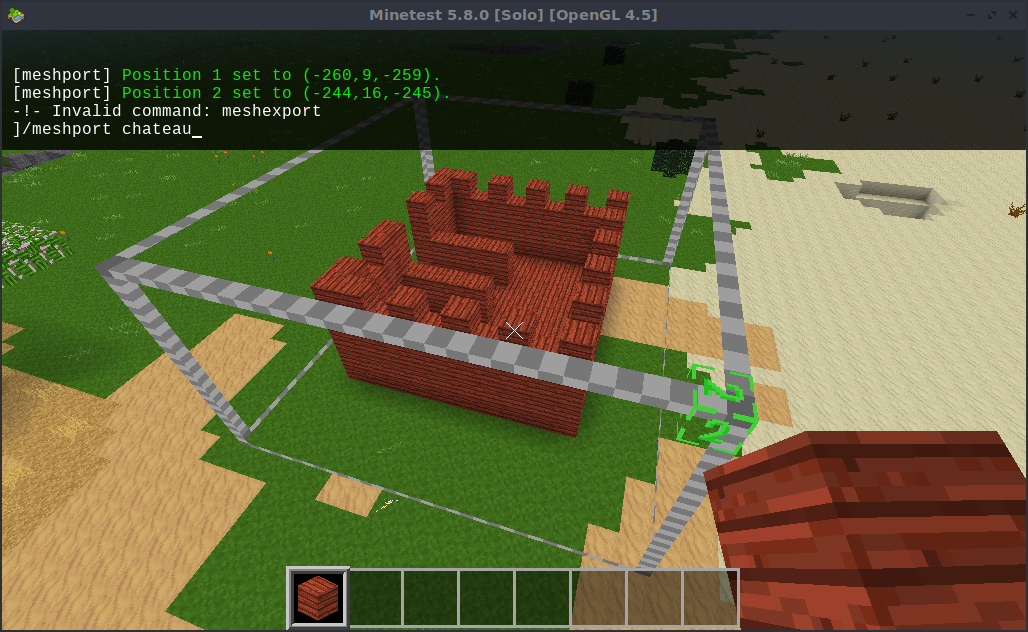
- La construction est exporter dans le répertoire sous le format 'obj' :
~/JEUX/MINETEST.580/minetest/worlds/plat/meshport/singleplayer_chateau/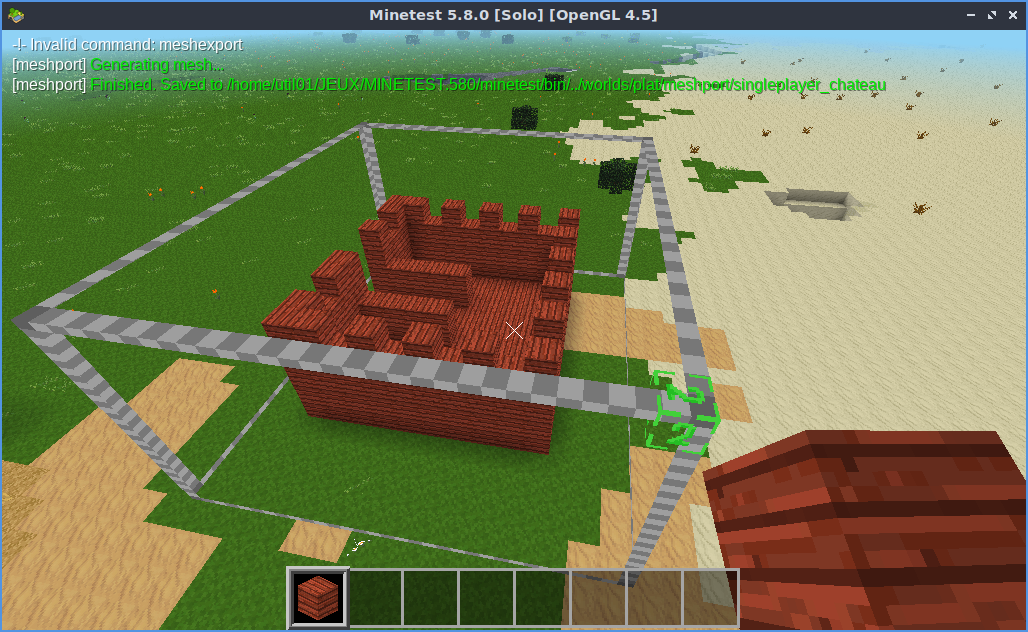
- Vérification :
util01@station40:~$ cd JEUX/MINETEST.580/minetest/worlds/plat/meshport/singleplayer_chateau/
util01@station40:~/JEUX/MINETEST.580/minetest/worlds/plat/meshport/singleplayer_chateau$
util01@station40:~/JEUX/MINETEST.580/minetest/worlds/plat/meshport/singleplayer_chateau$ ls -l
total 36
-rw-r--r-- 1 util01 www-data 364 févr. 11 21:24 materials.mtl
-rw-r--r-- 1 util01 www-data 32392 févr. 11 21:24 model.obj
util01@station40:~/JEUX/MINETEST.580/minetest/worlds/plat/meshport/singleplayer_chateau$ II/ Visualisation sur Blender 3.6.7.
1/ Configuration de Blender.
- Lancer Blender en ligne de commande :
util01@station40:~$ cd GRAPH3D/blender-3.6.7-linux-x64/
util01@station40:~/GRAPH3D/blender-3.6.7-linux-x64$ ./blender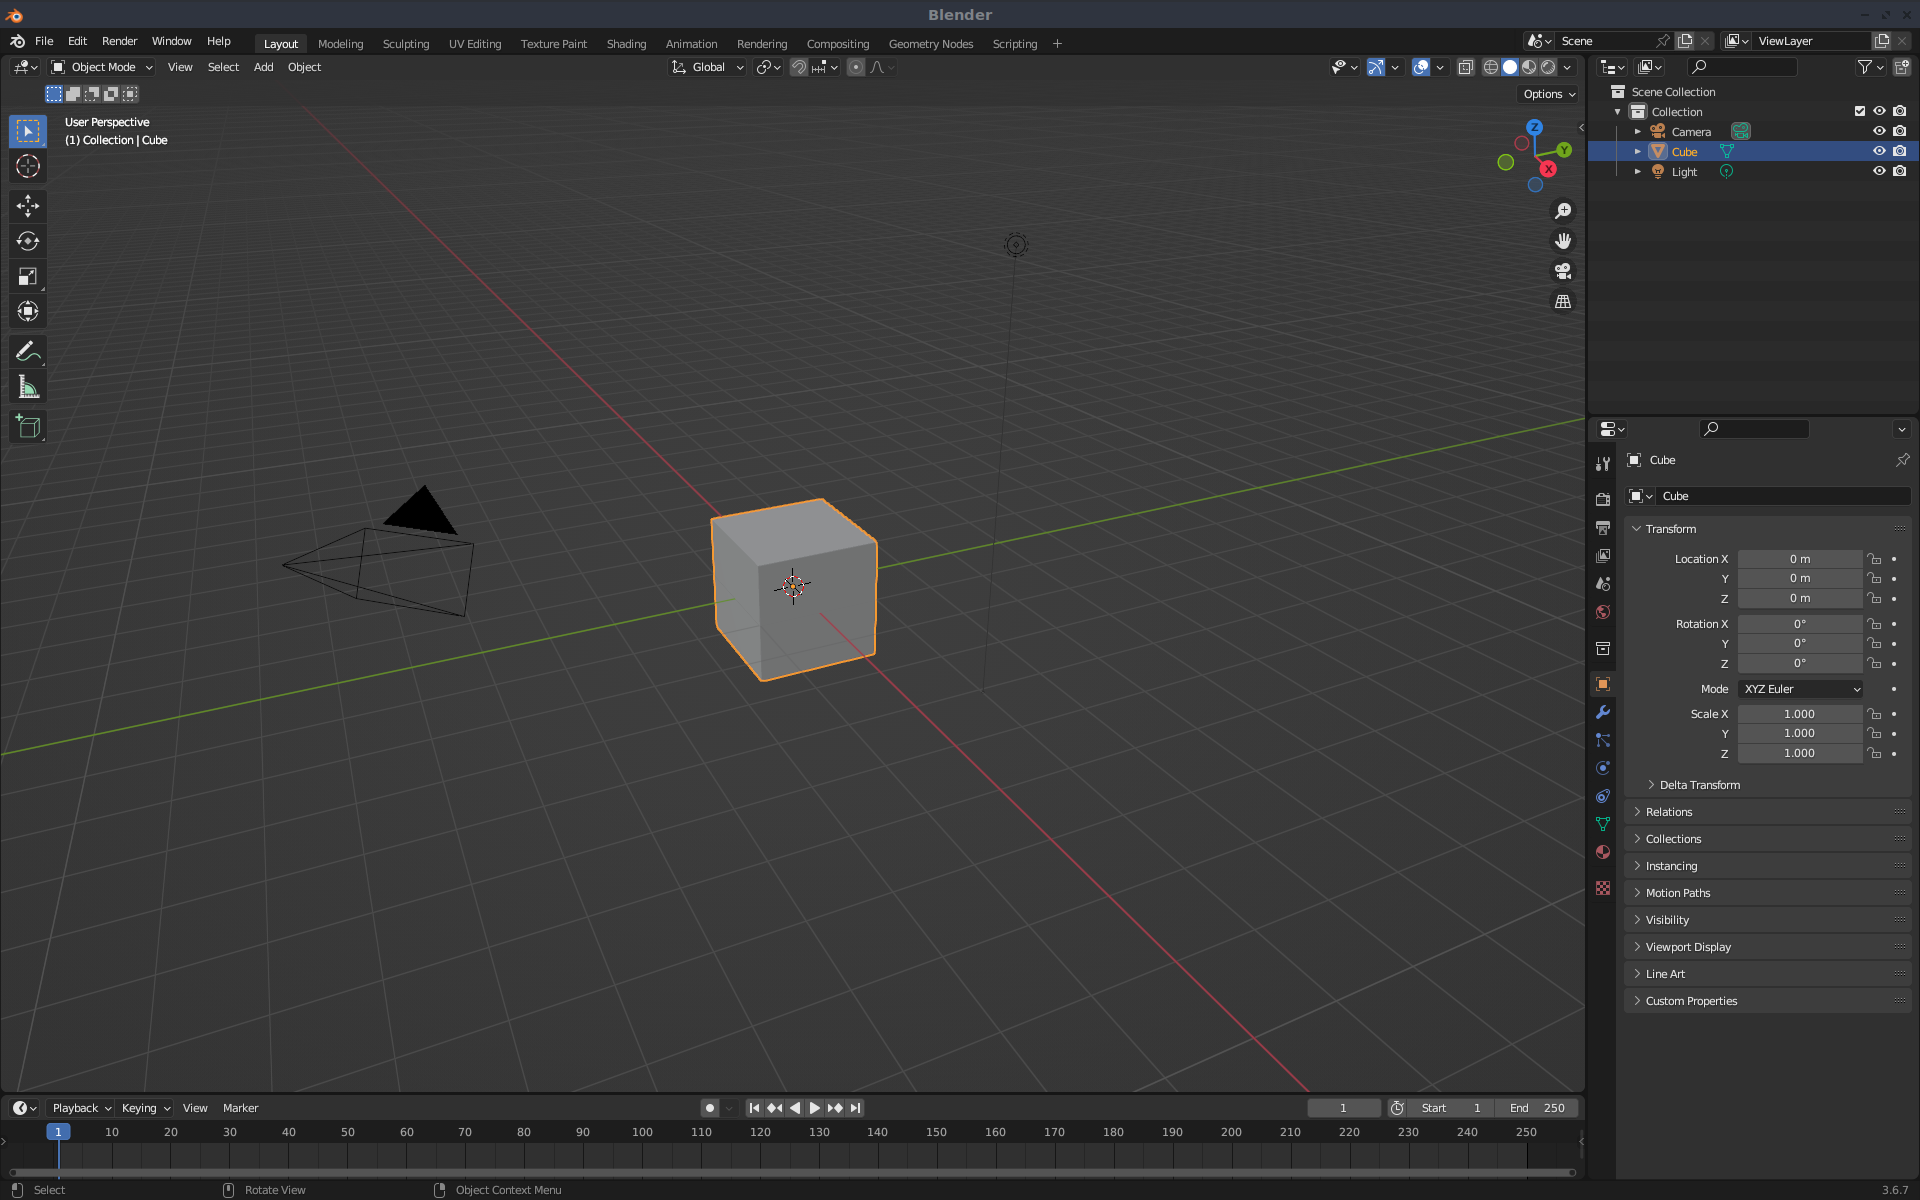
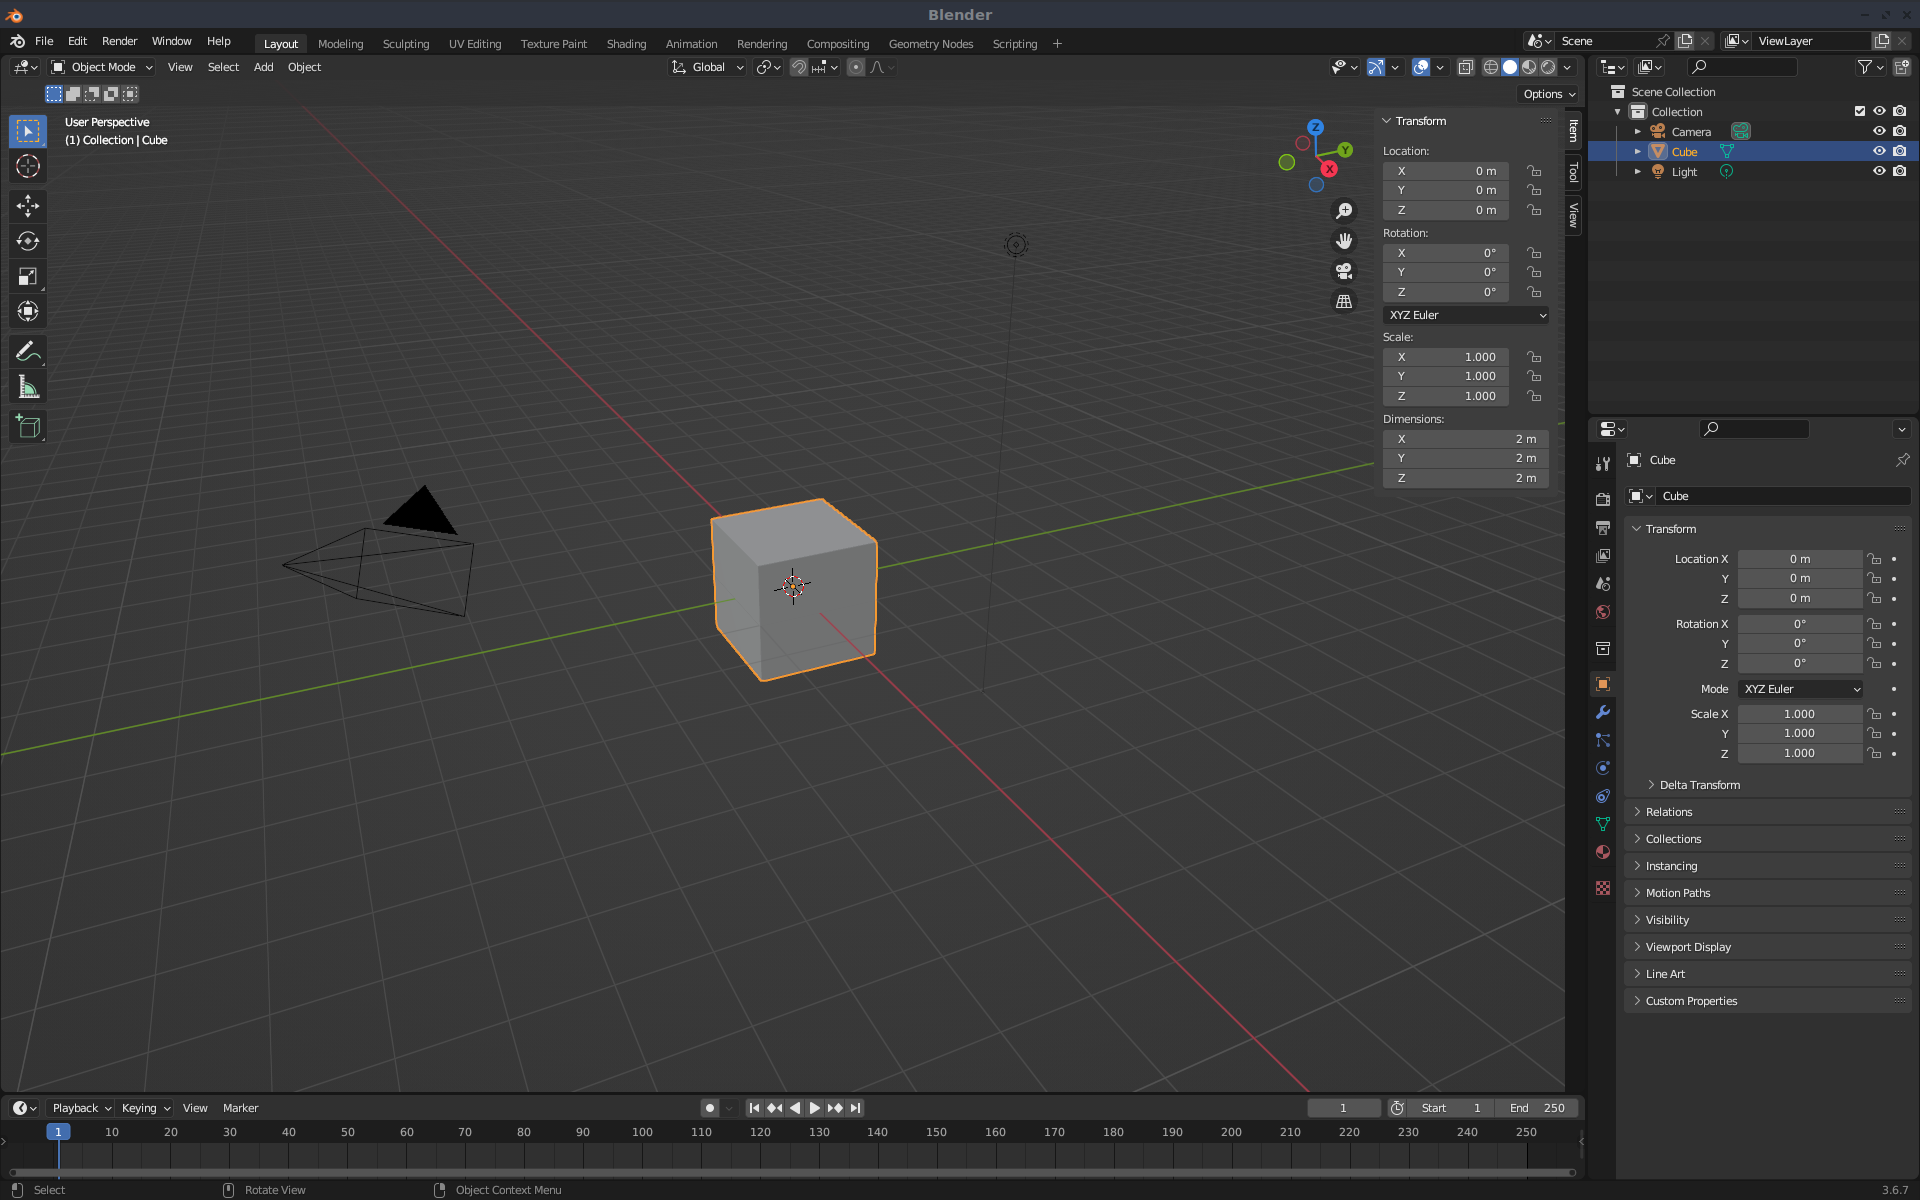
- Cliquer sur [N] pour voir les caractéristiques techniques de l'objet sélectionné :
- Sélectionne le menu [Scène] :
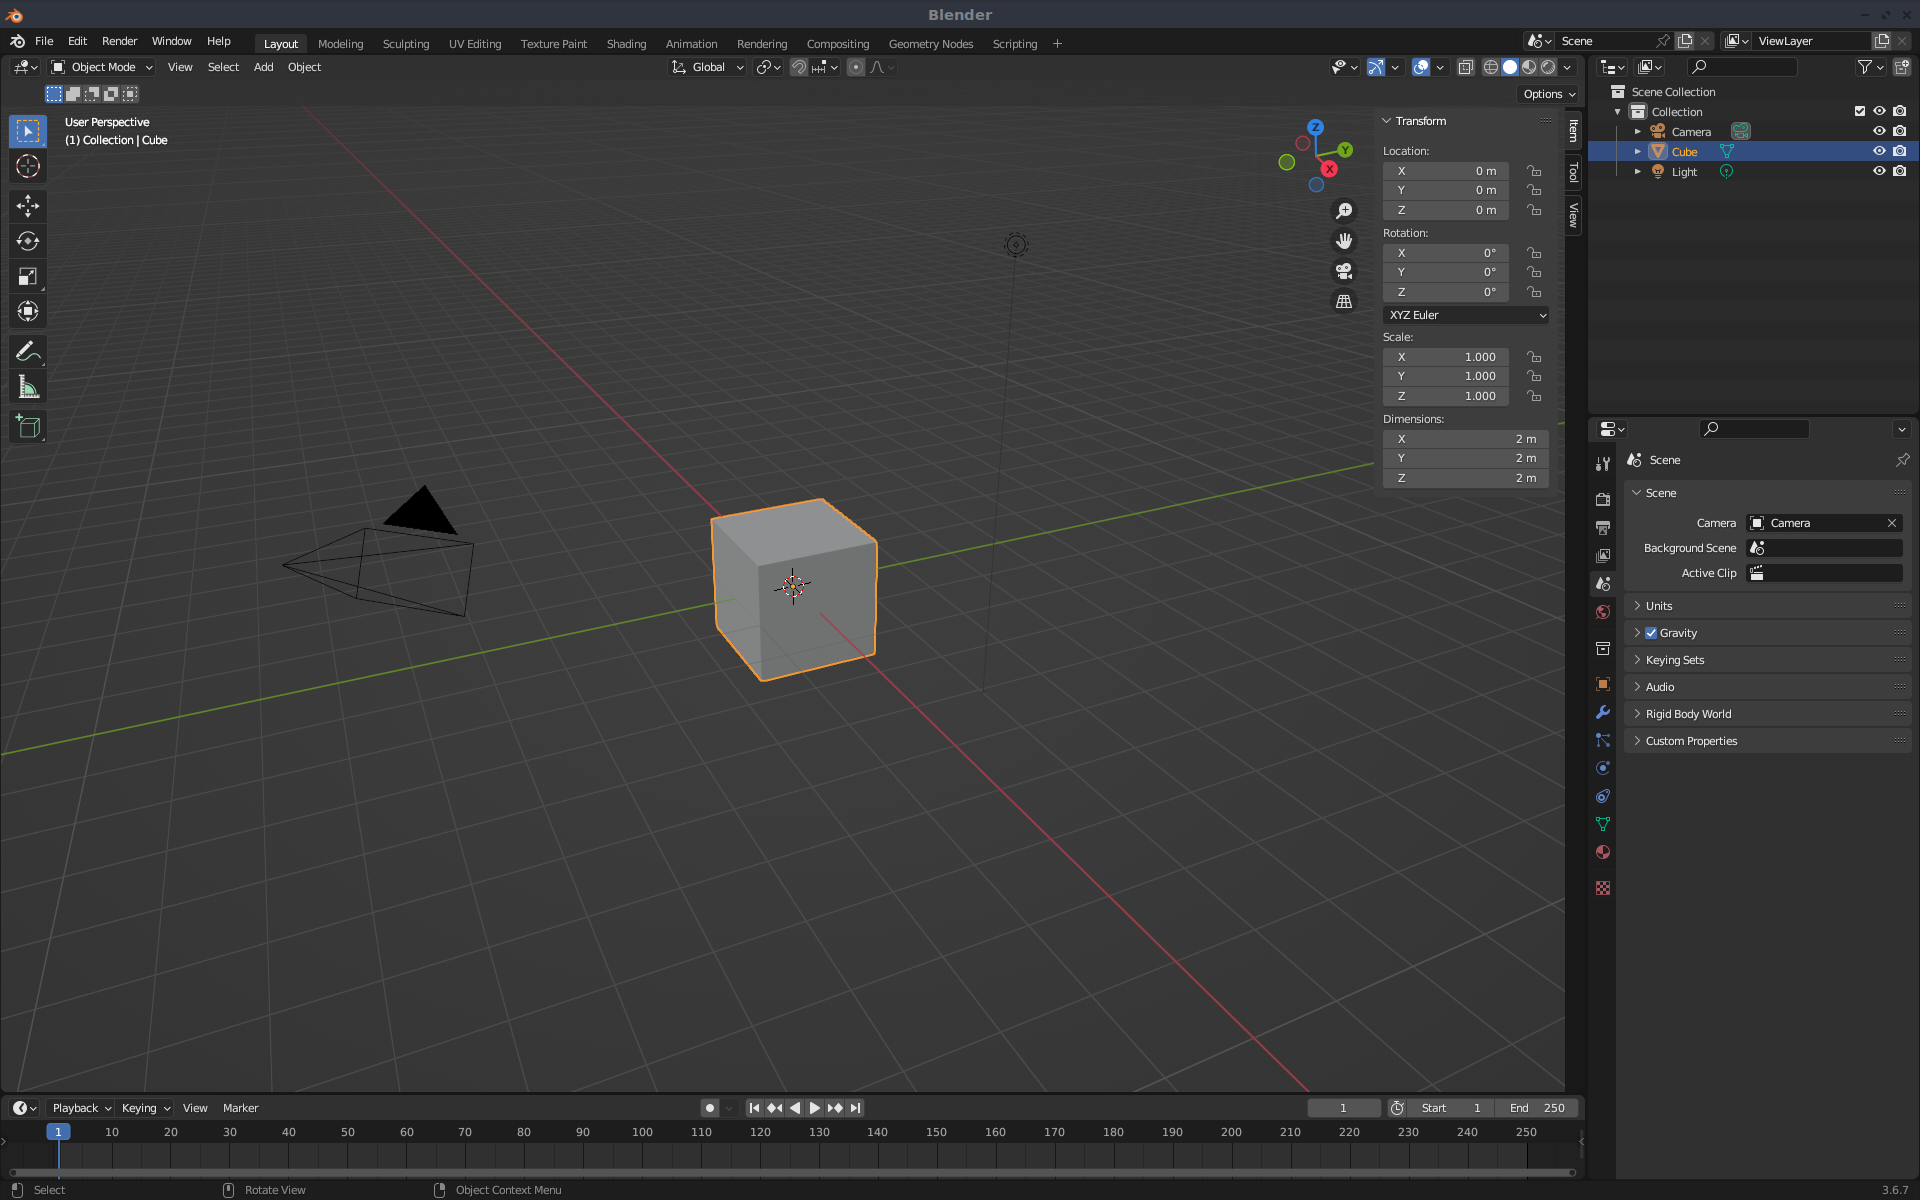
- Cliquer sur le sous-menu [Units]
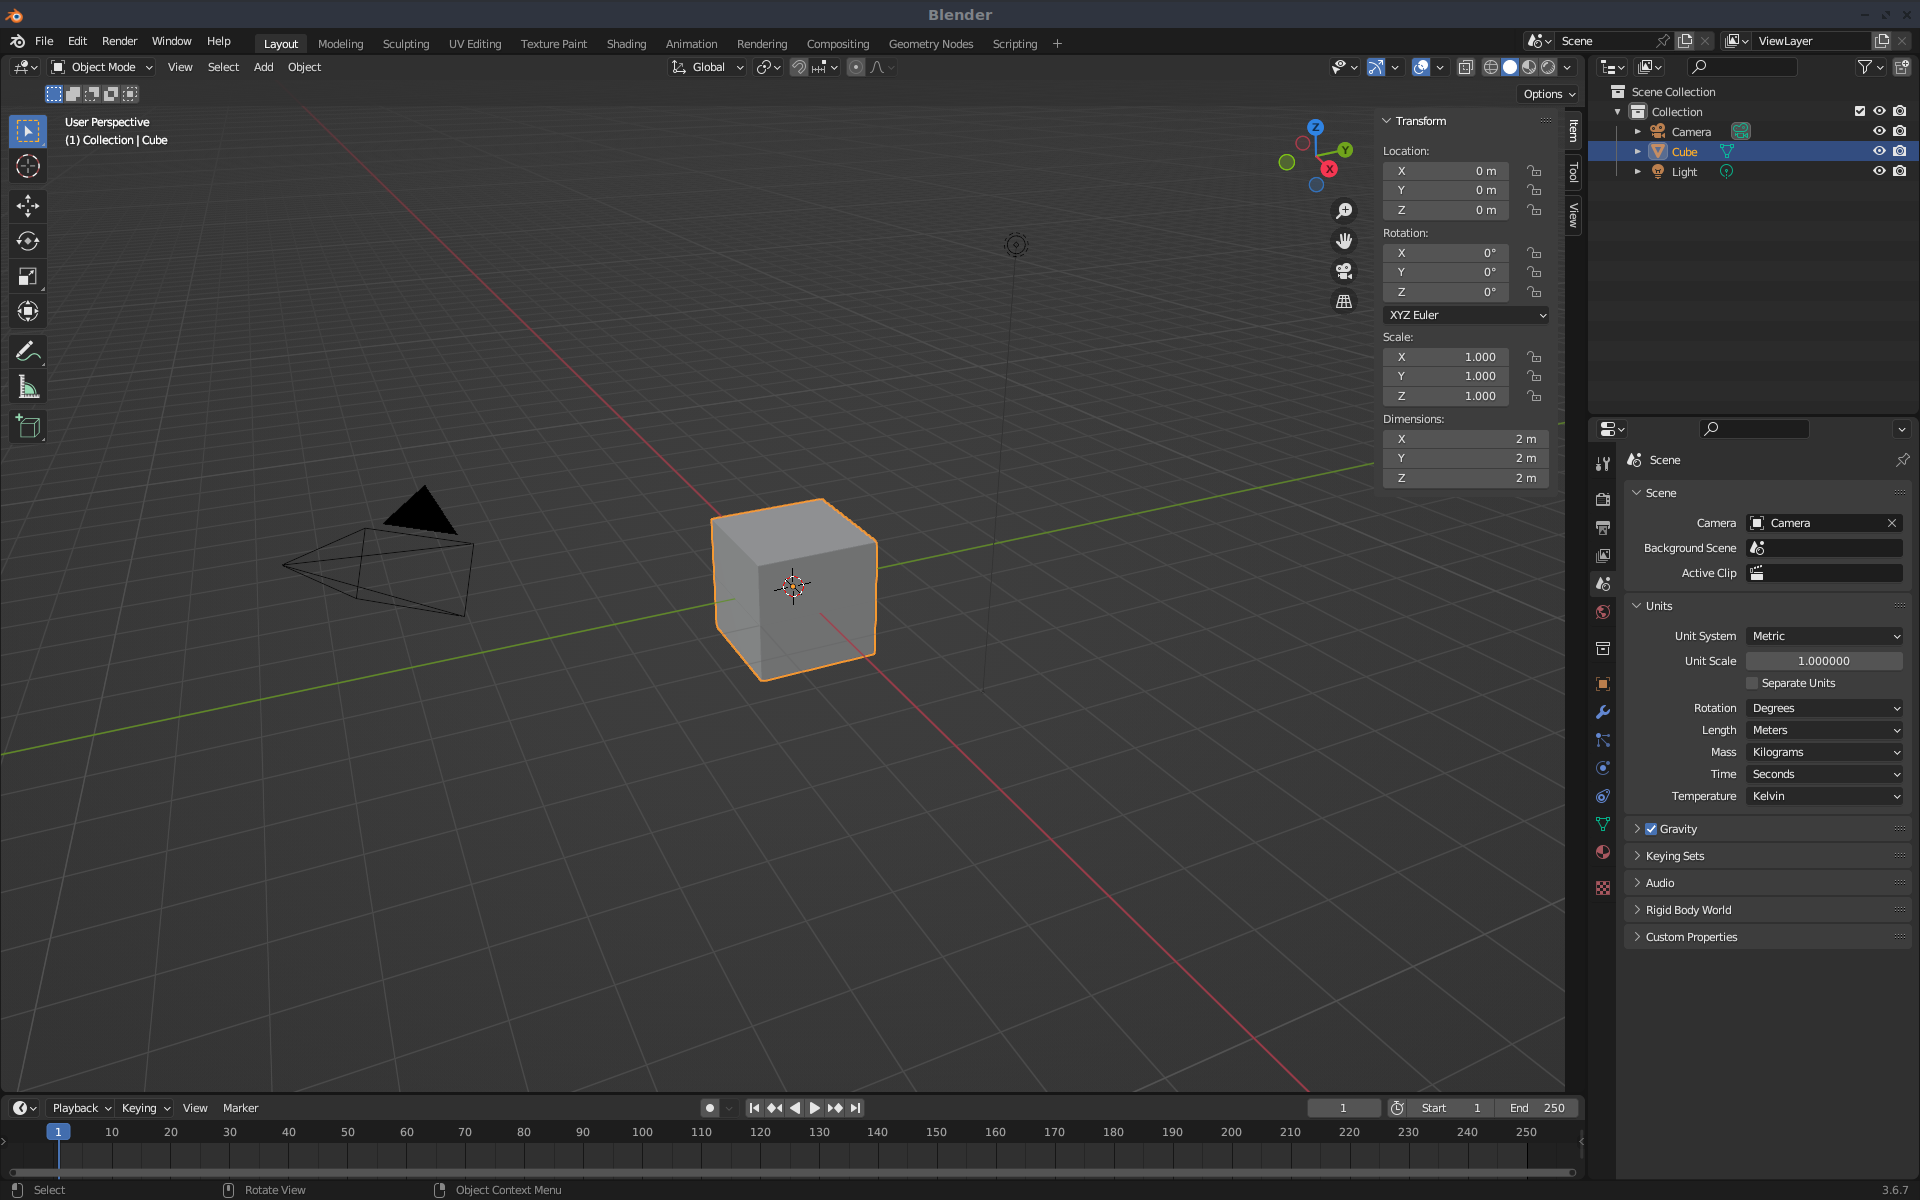
- Pour :
Unit Scale : **0.001**
Length : **Centimeters**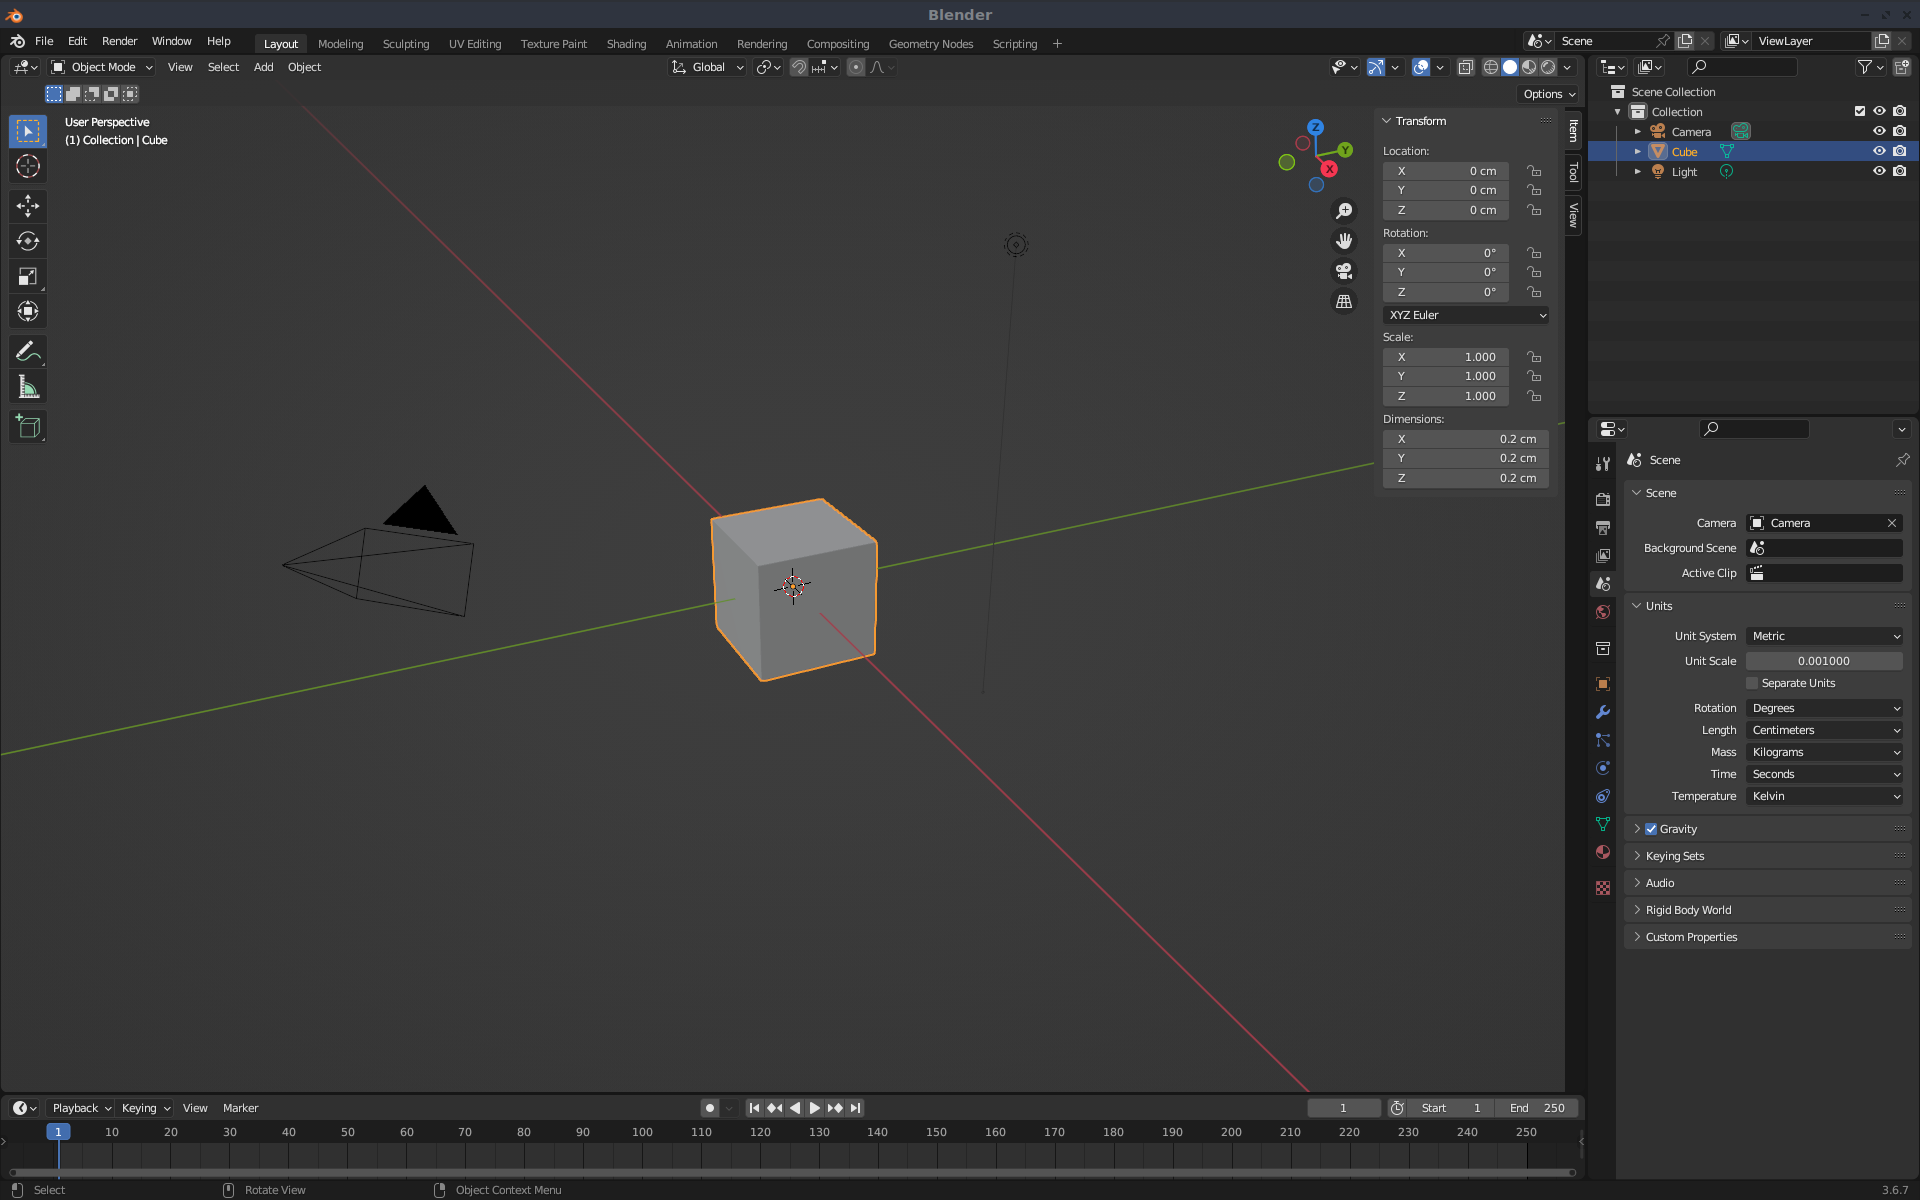
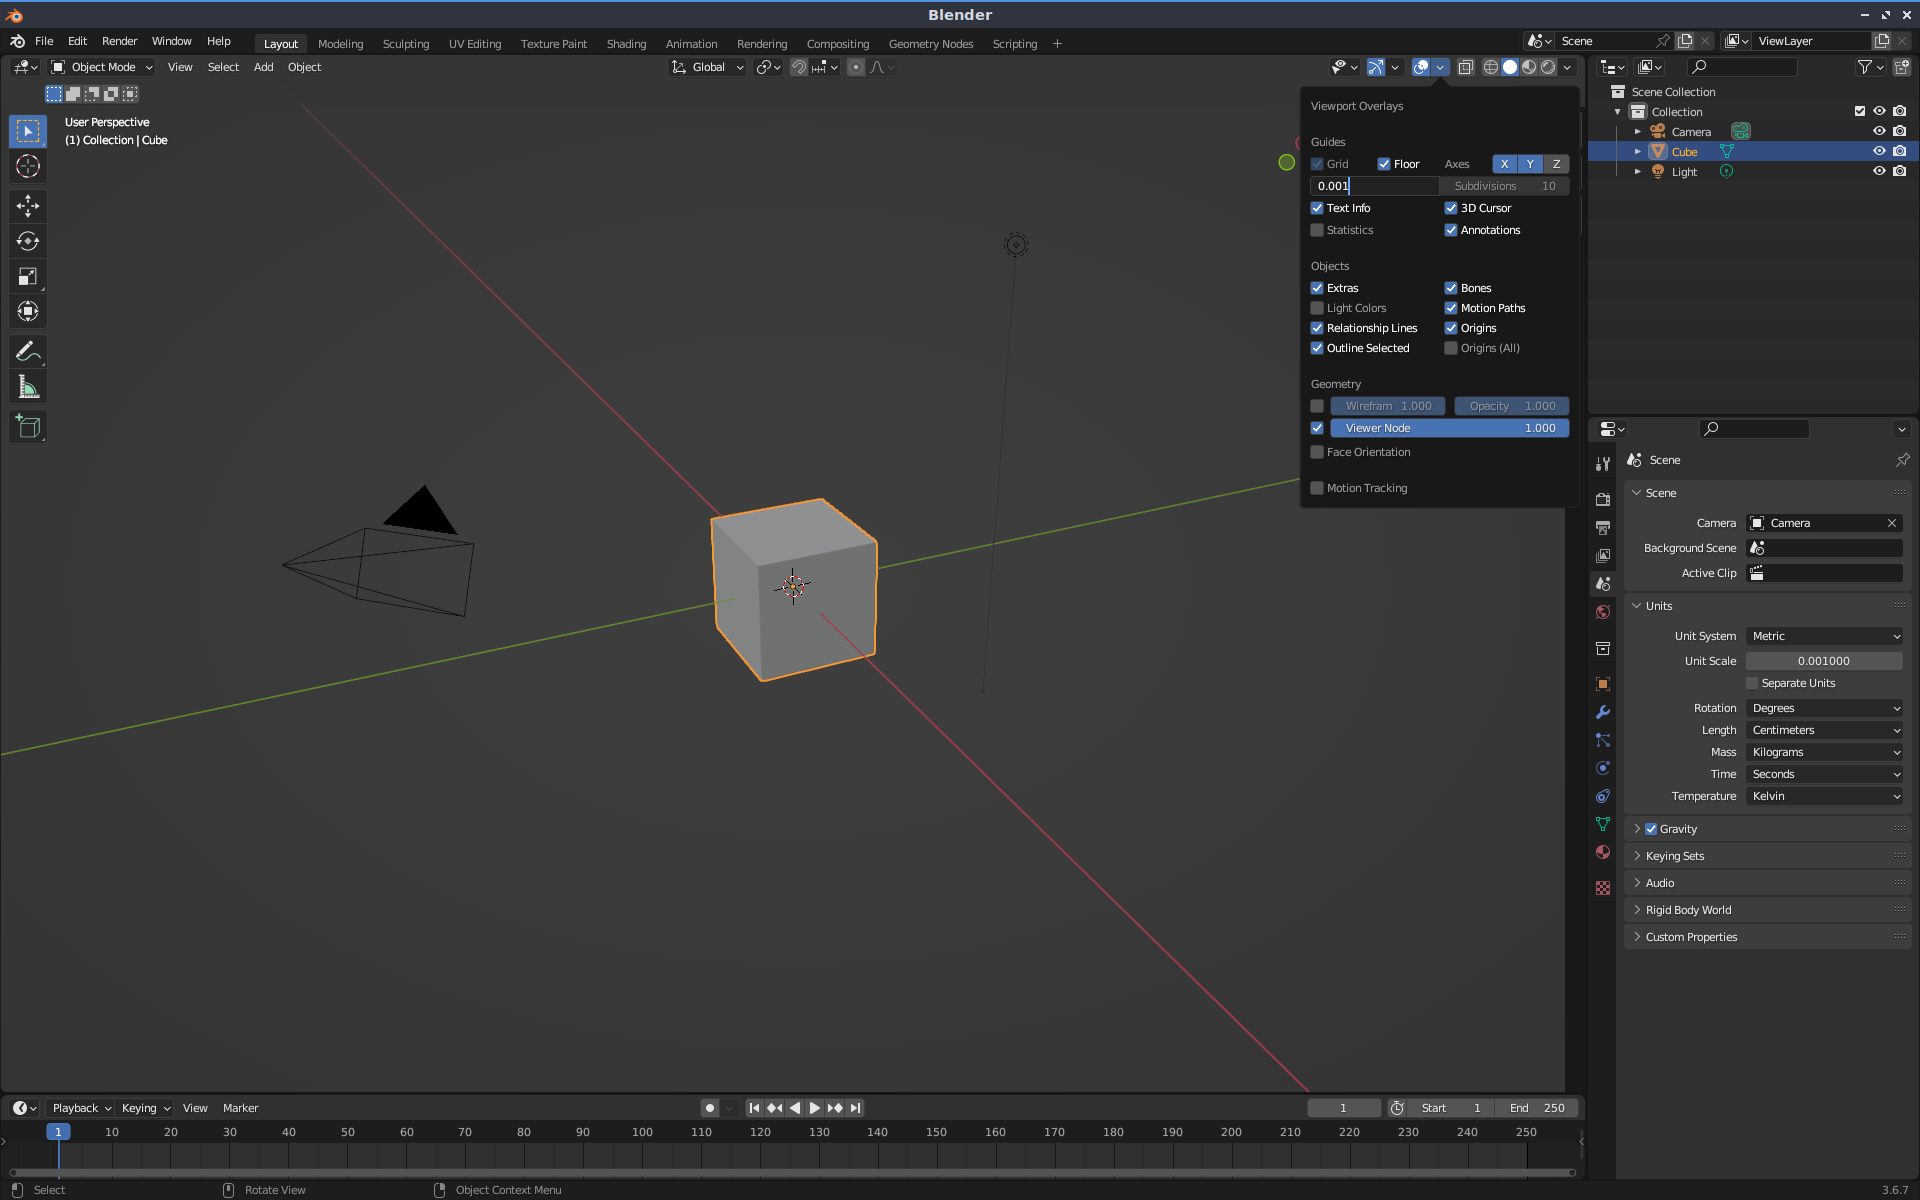
- Cliquer sur [Viewport Overlays], dans le champs Scale :
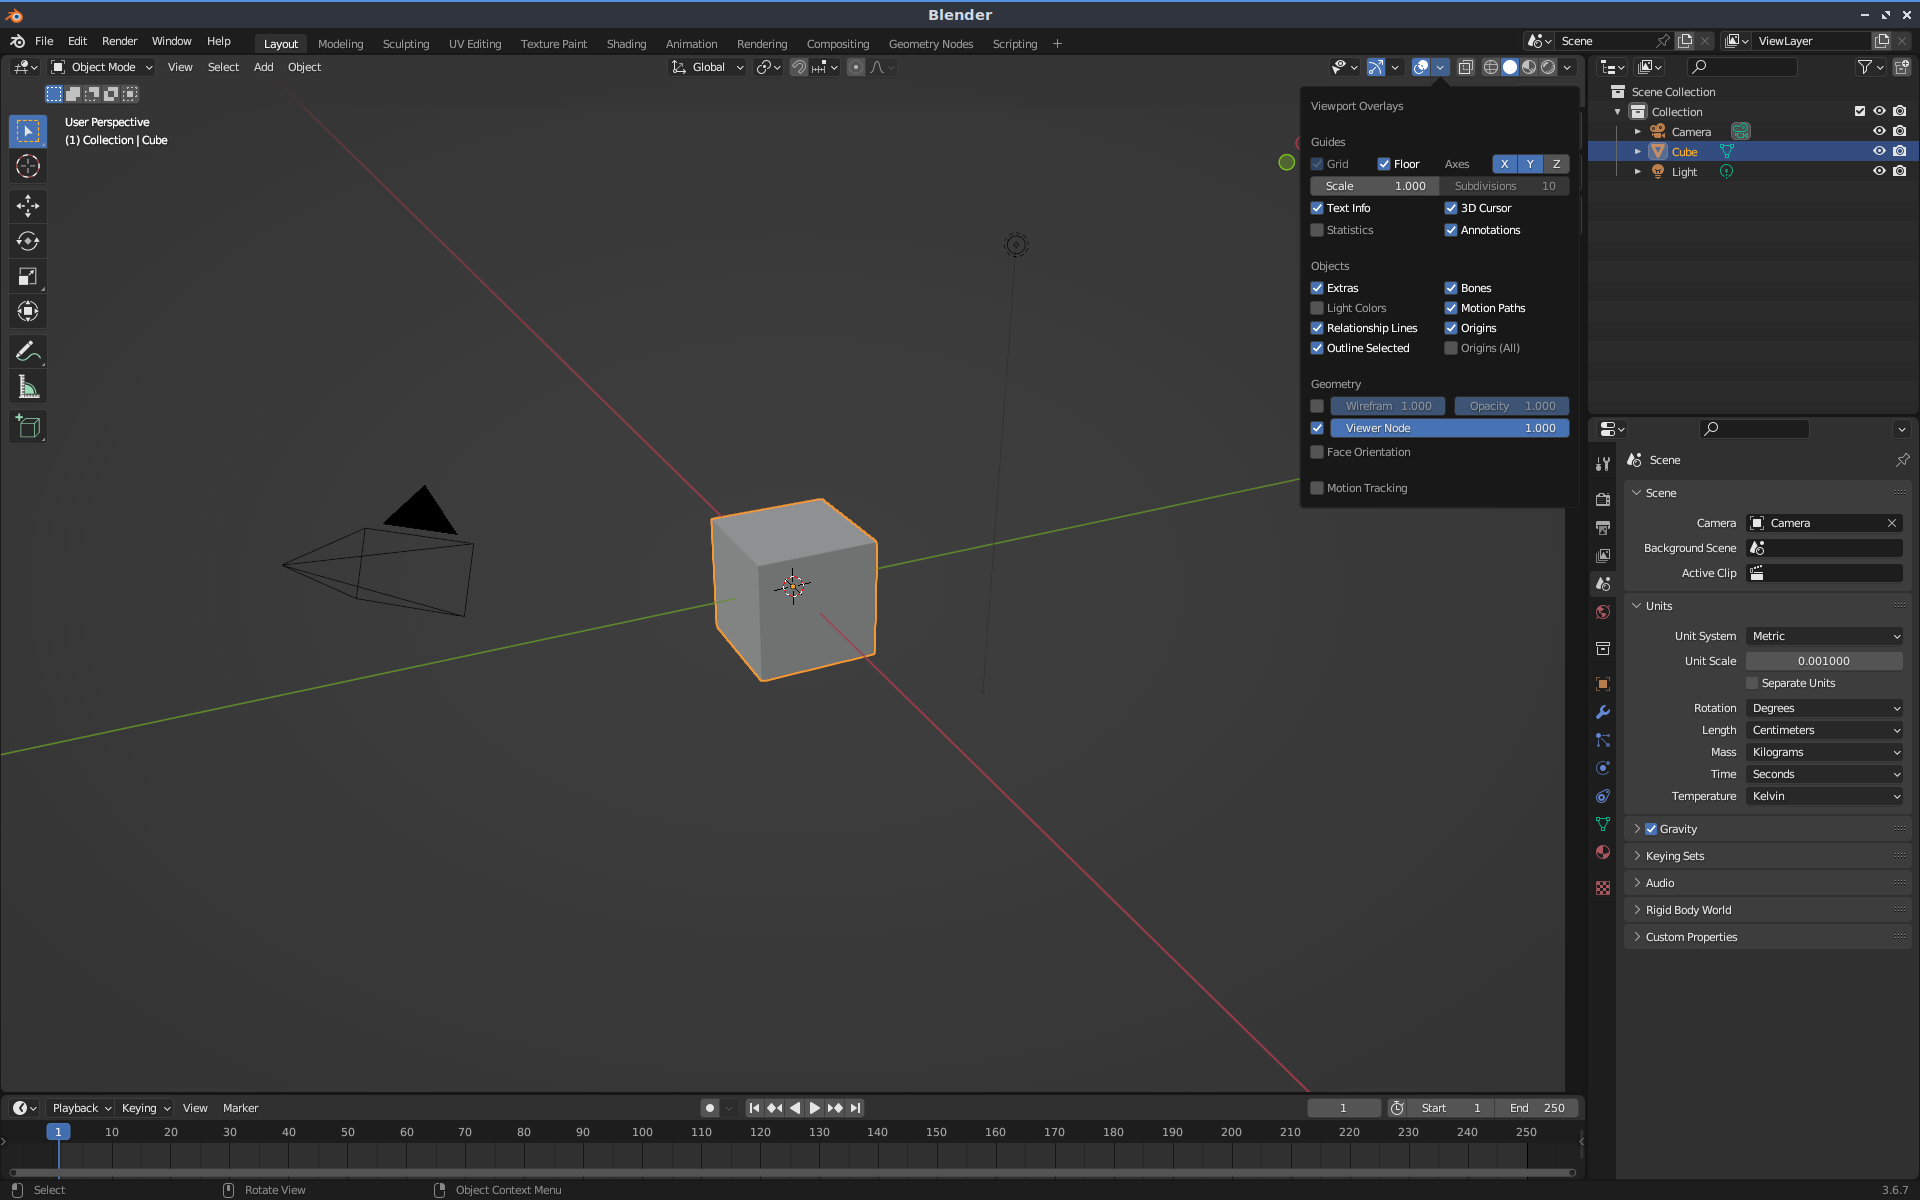
Indiquer : 0.001
- En réel, le cube fait 2mm x 2mm x 2mm :

- Après avoir sélectionner le cube, supprimer le cube via la touche [X] :

2/ Importation d'un modéle 3d au format obj.
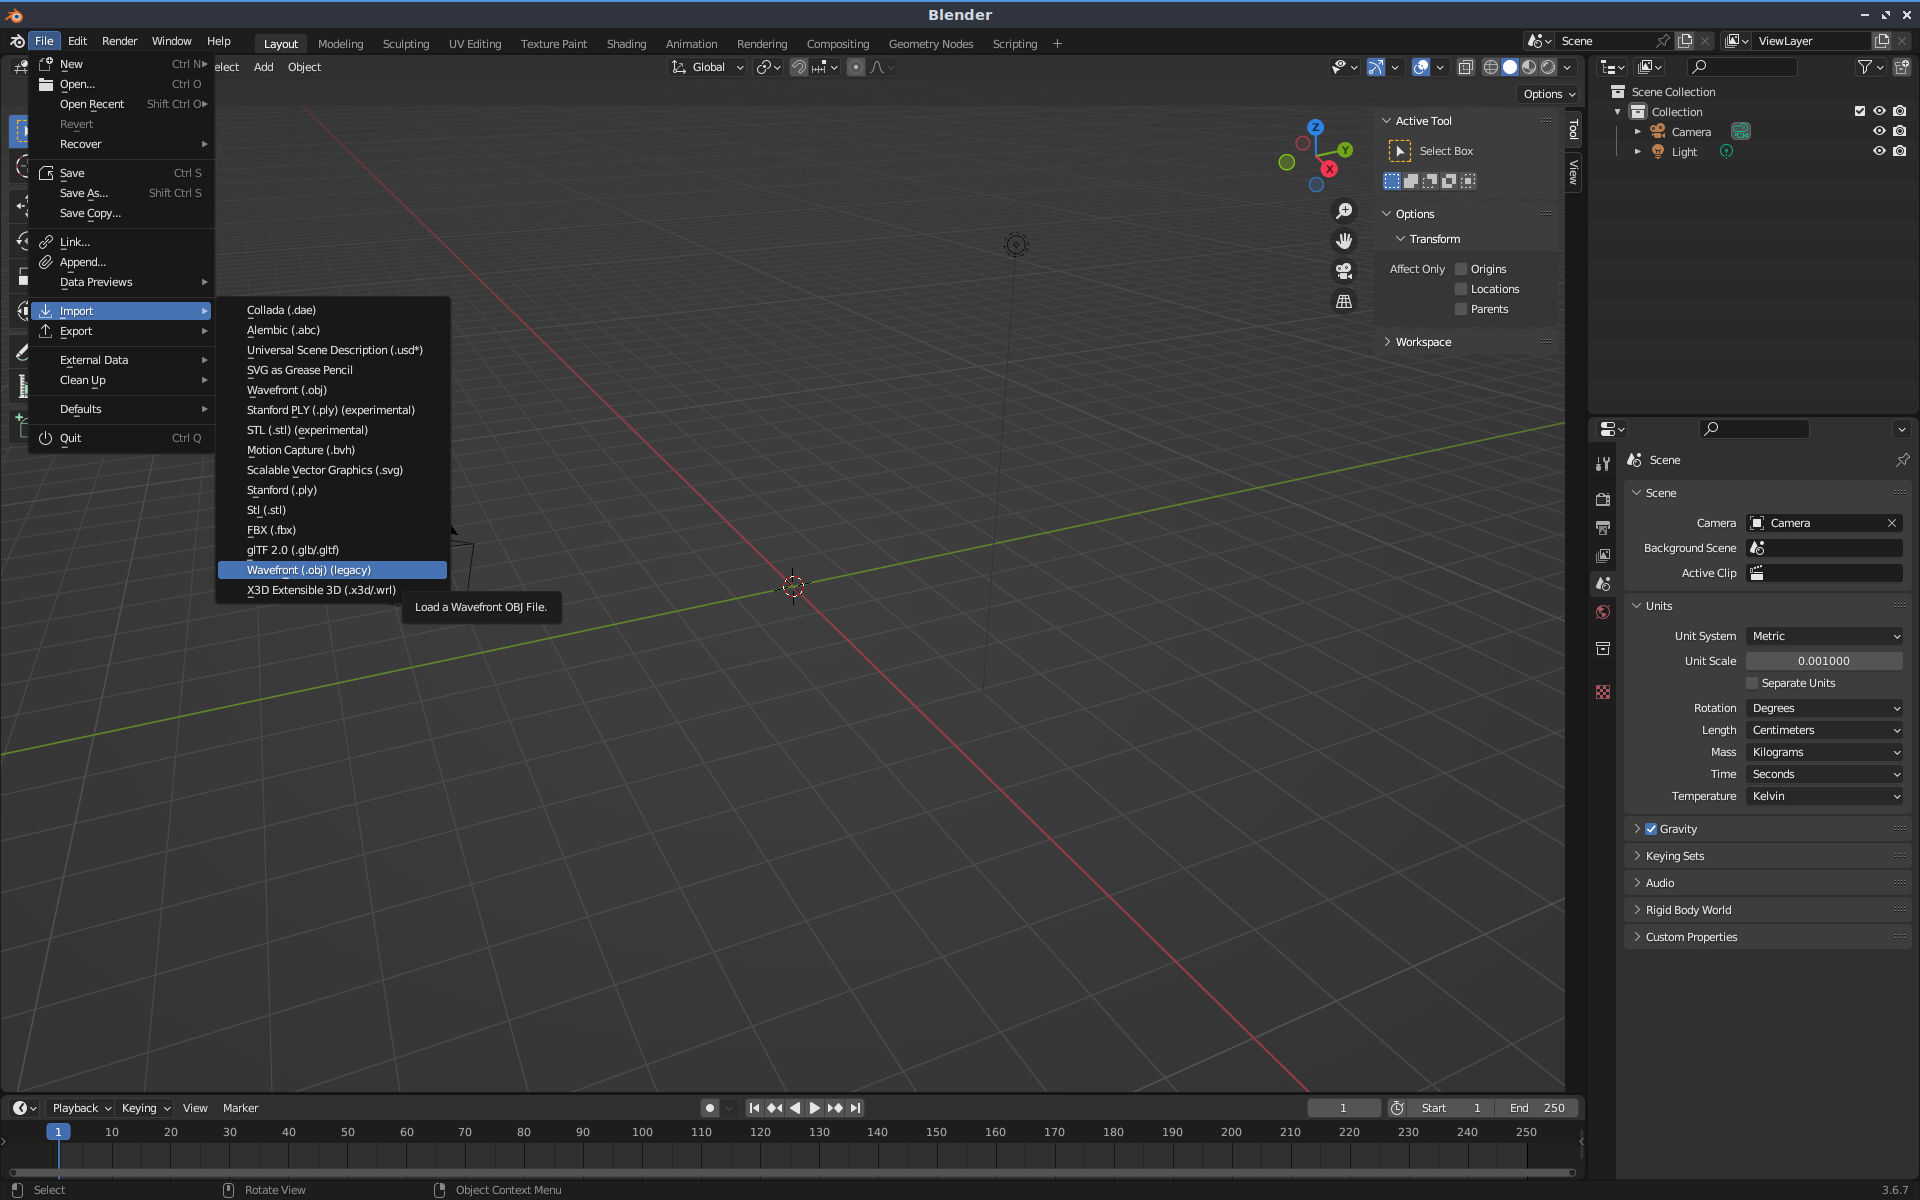
- Sélectionner le menu : [File] > [Import] > [Wavefront (.obj) (legacy)]
- Sélectionner le répertoire où se trouve le modèle 3d du château, soit :
~/JEUX/MINETEST.580/minetest/worlds/plat/meshport/singleplayer_chateau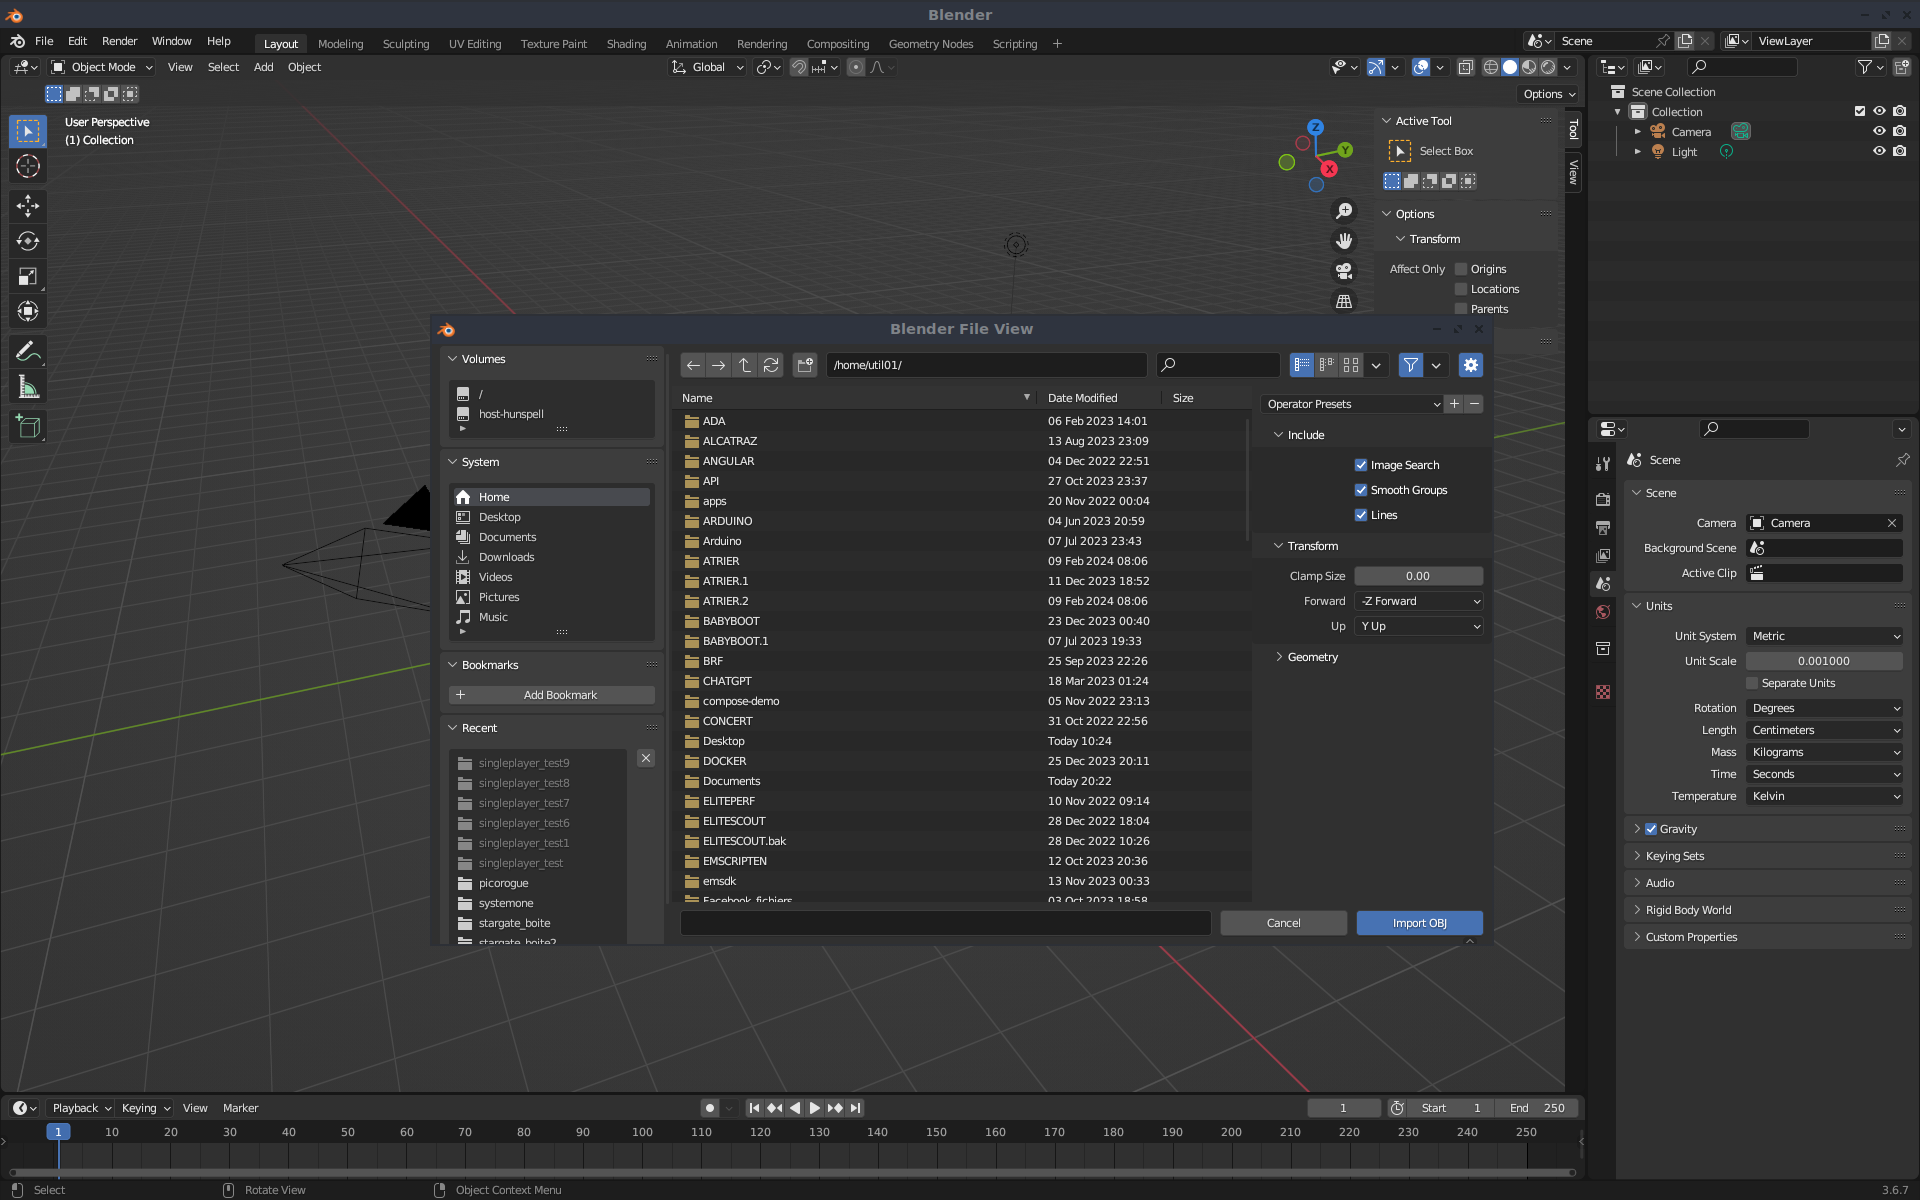
- Sélectionner le fichier : model.obj
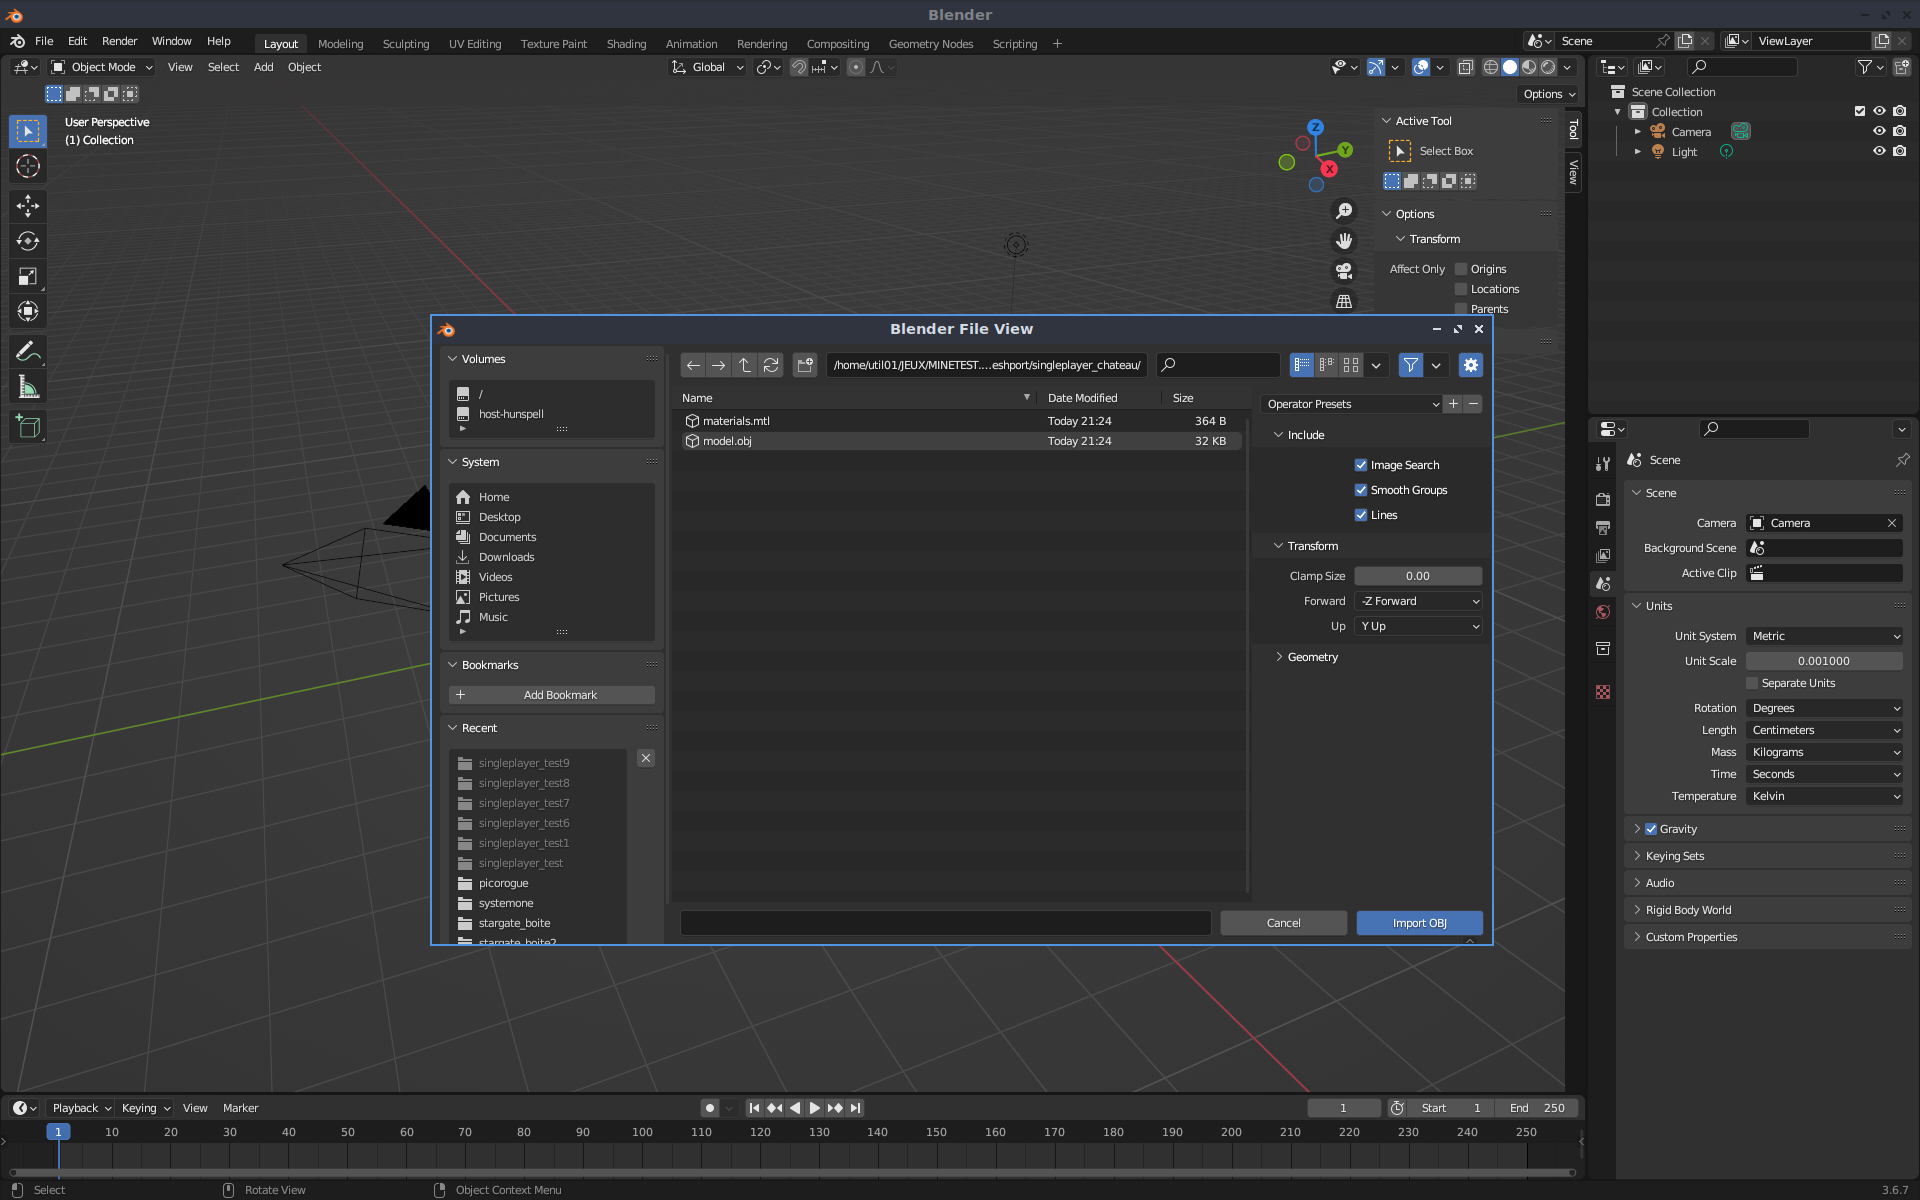
Cliquer sur le bouton [Import OBJ].
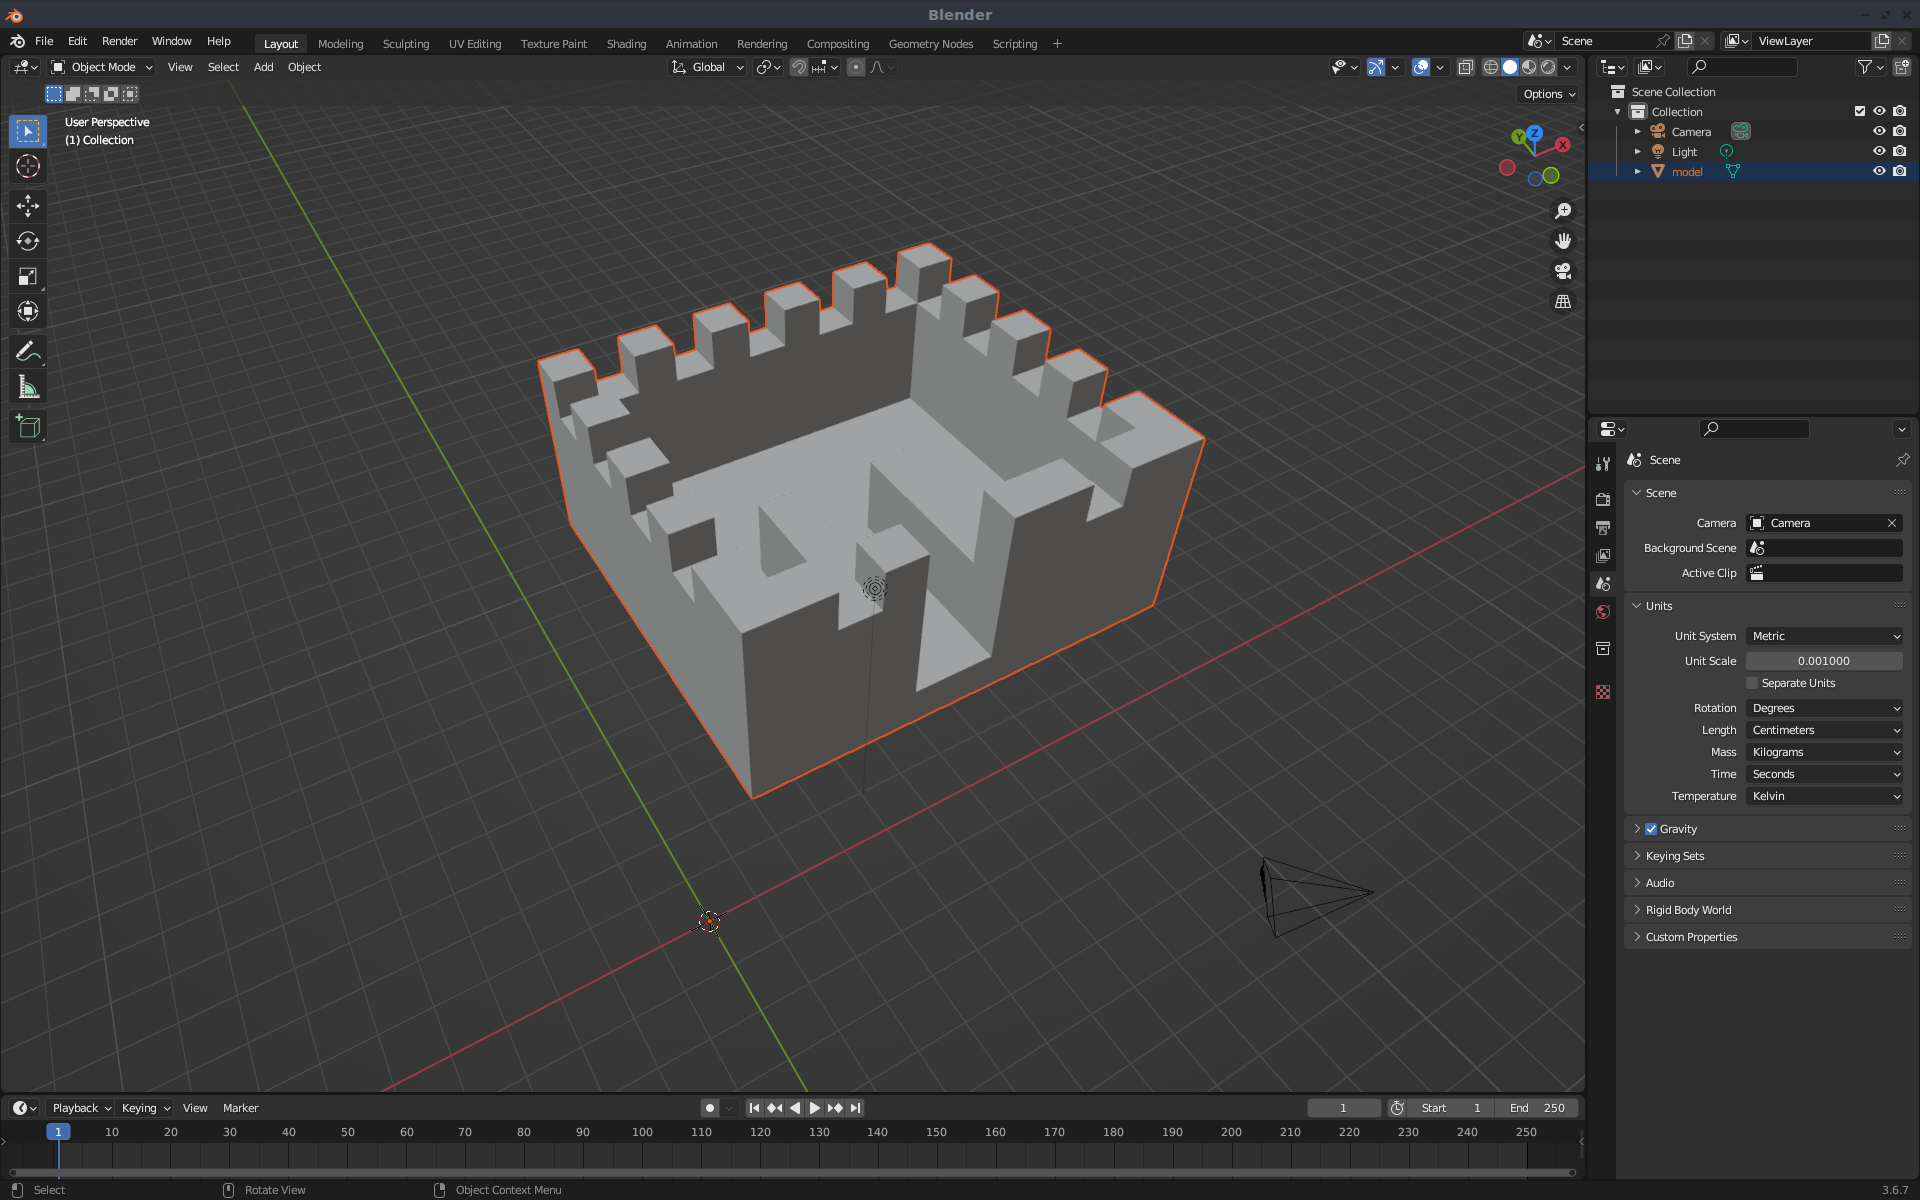
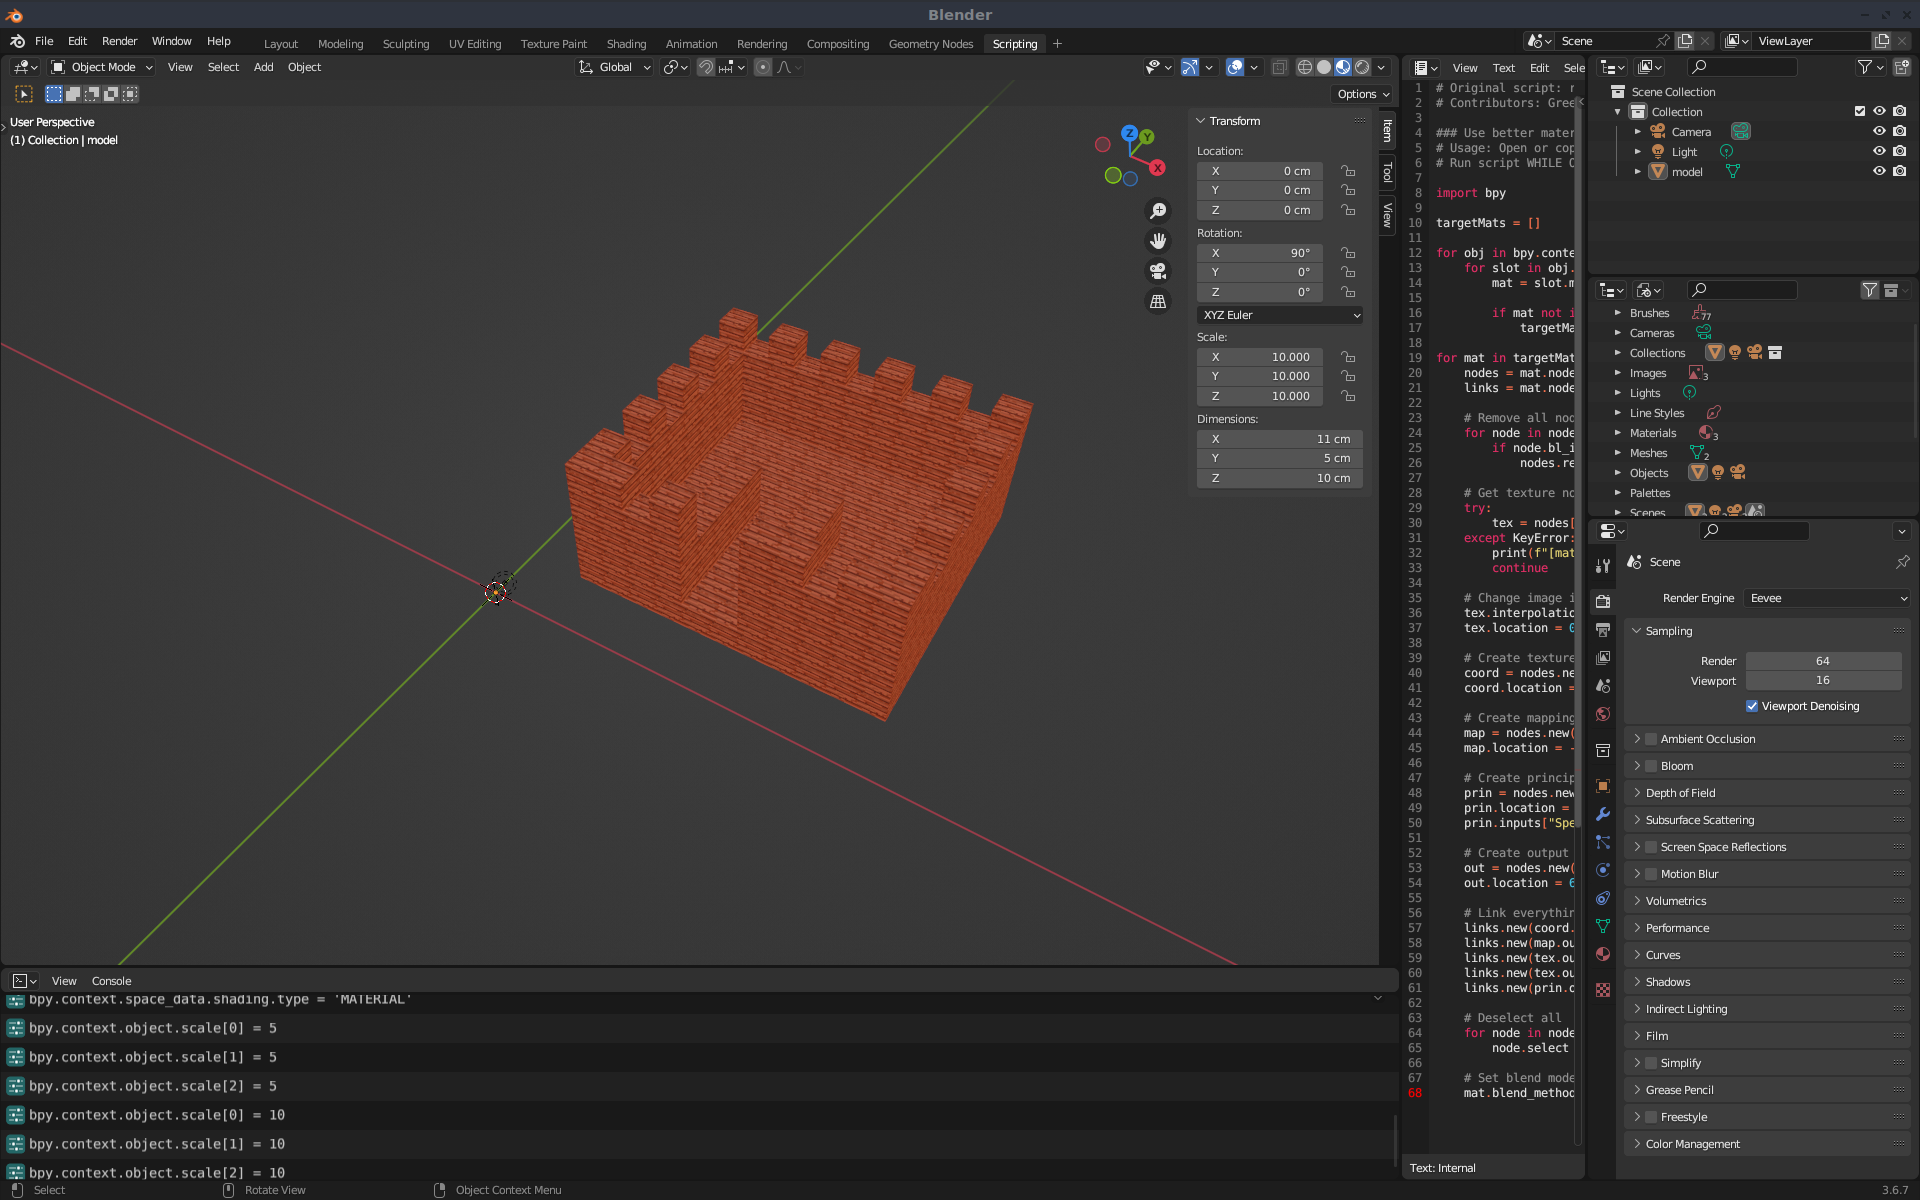
Le château s'affiche :
- On constate que l'objet imprimé fera les dimensions suivantes :
Dimensions :
X : 1.1 cm
Y : 0.5 cm
Z : 1 cm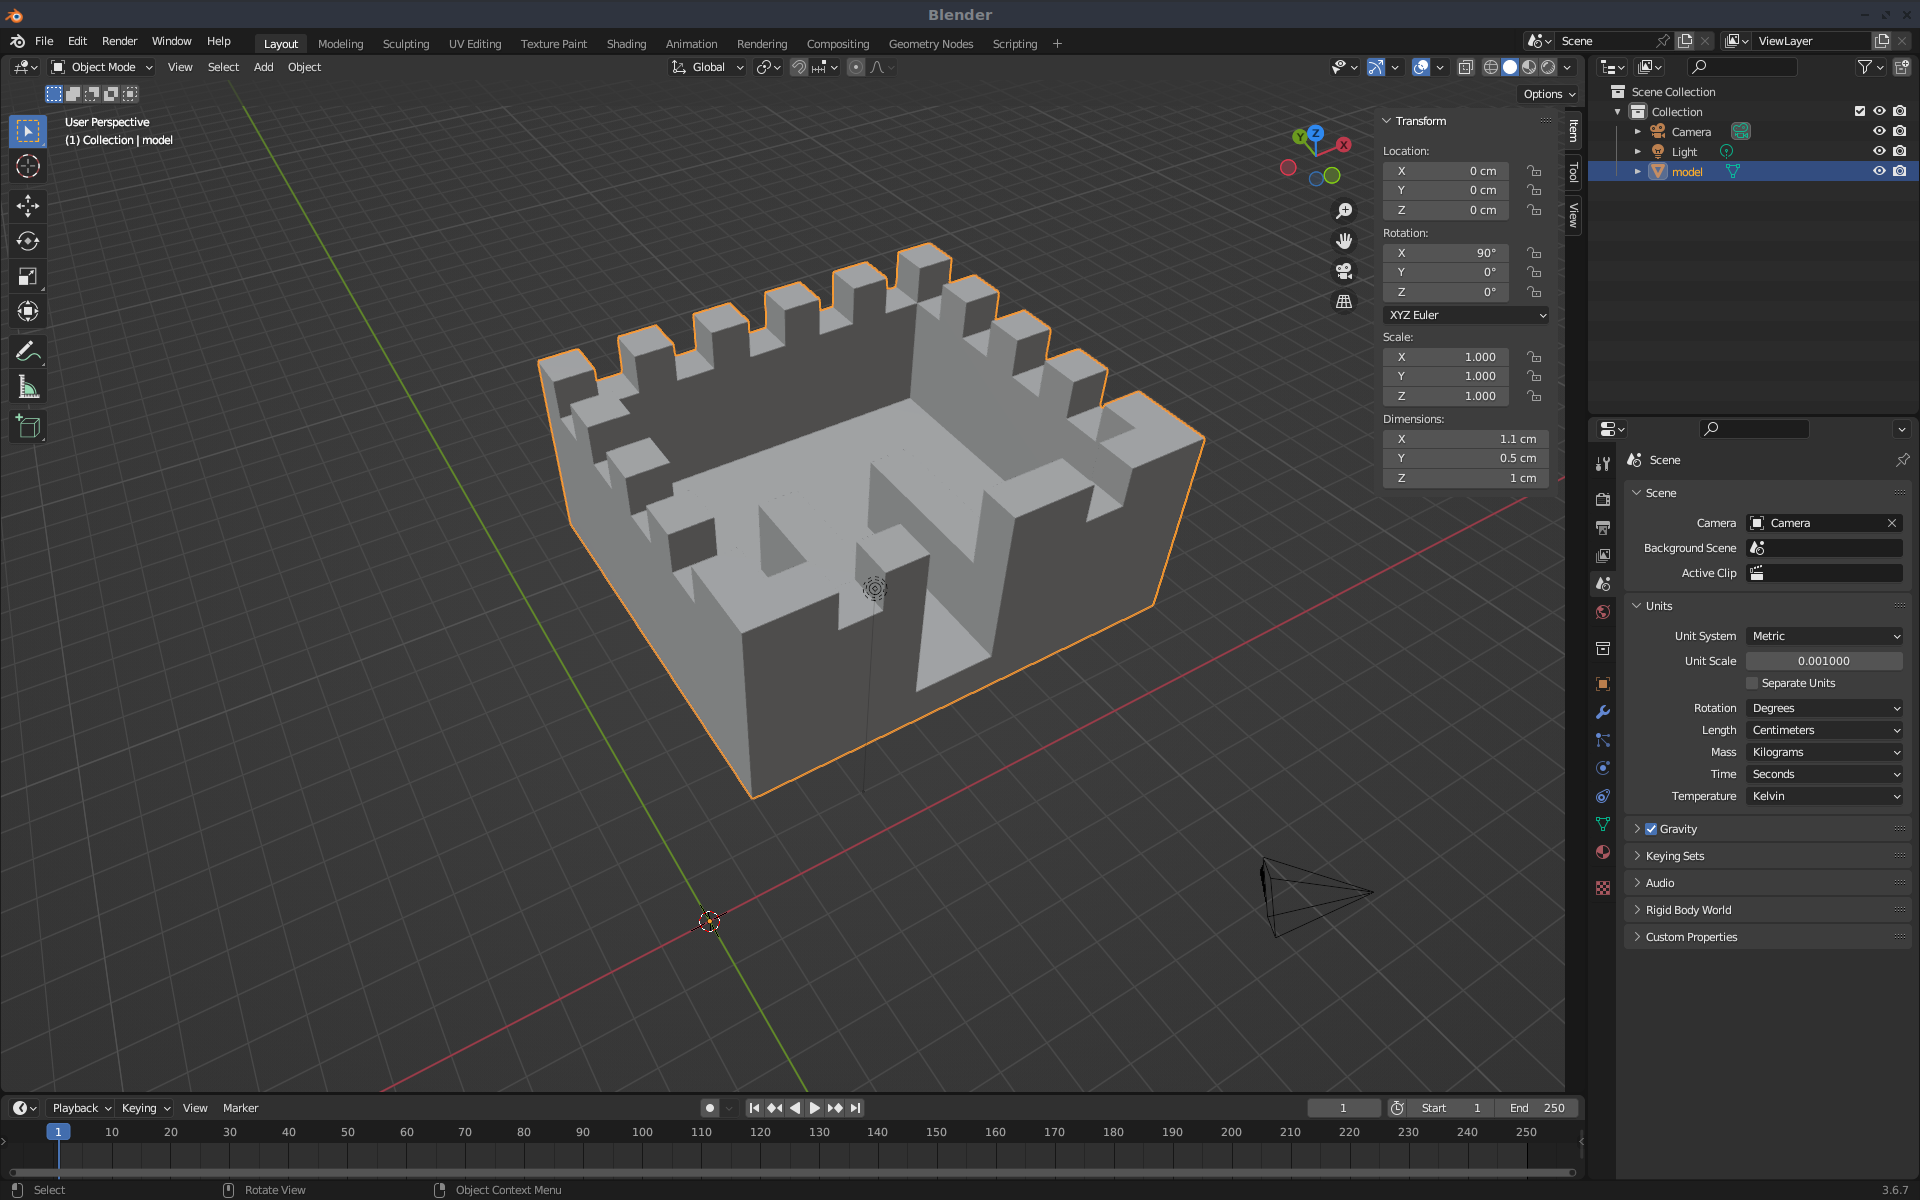
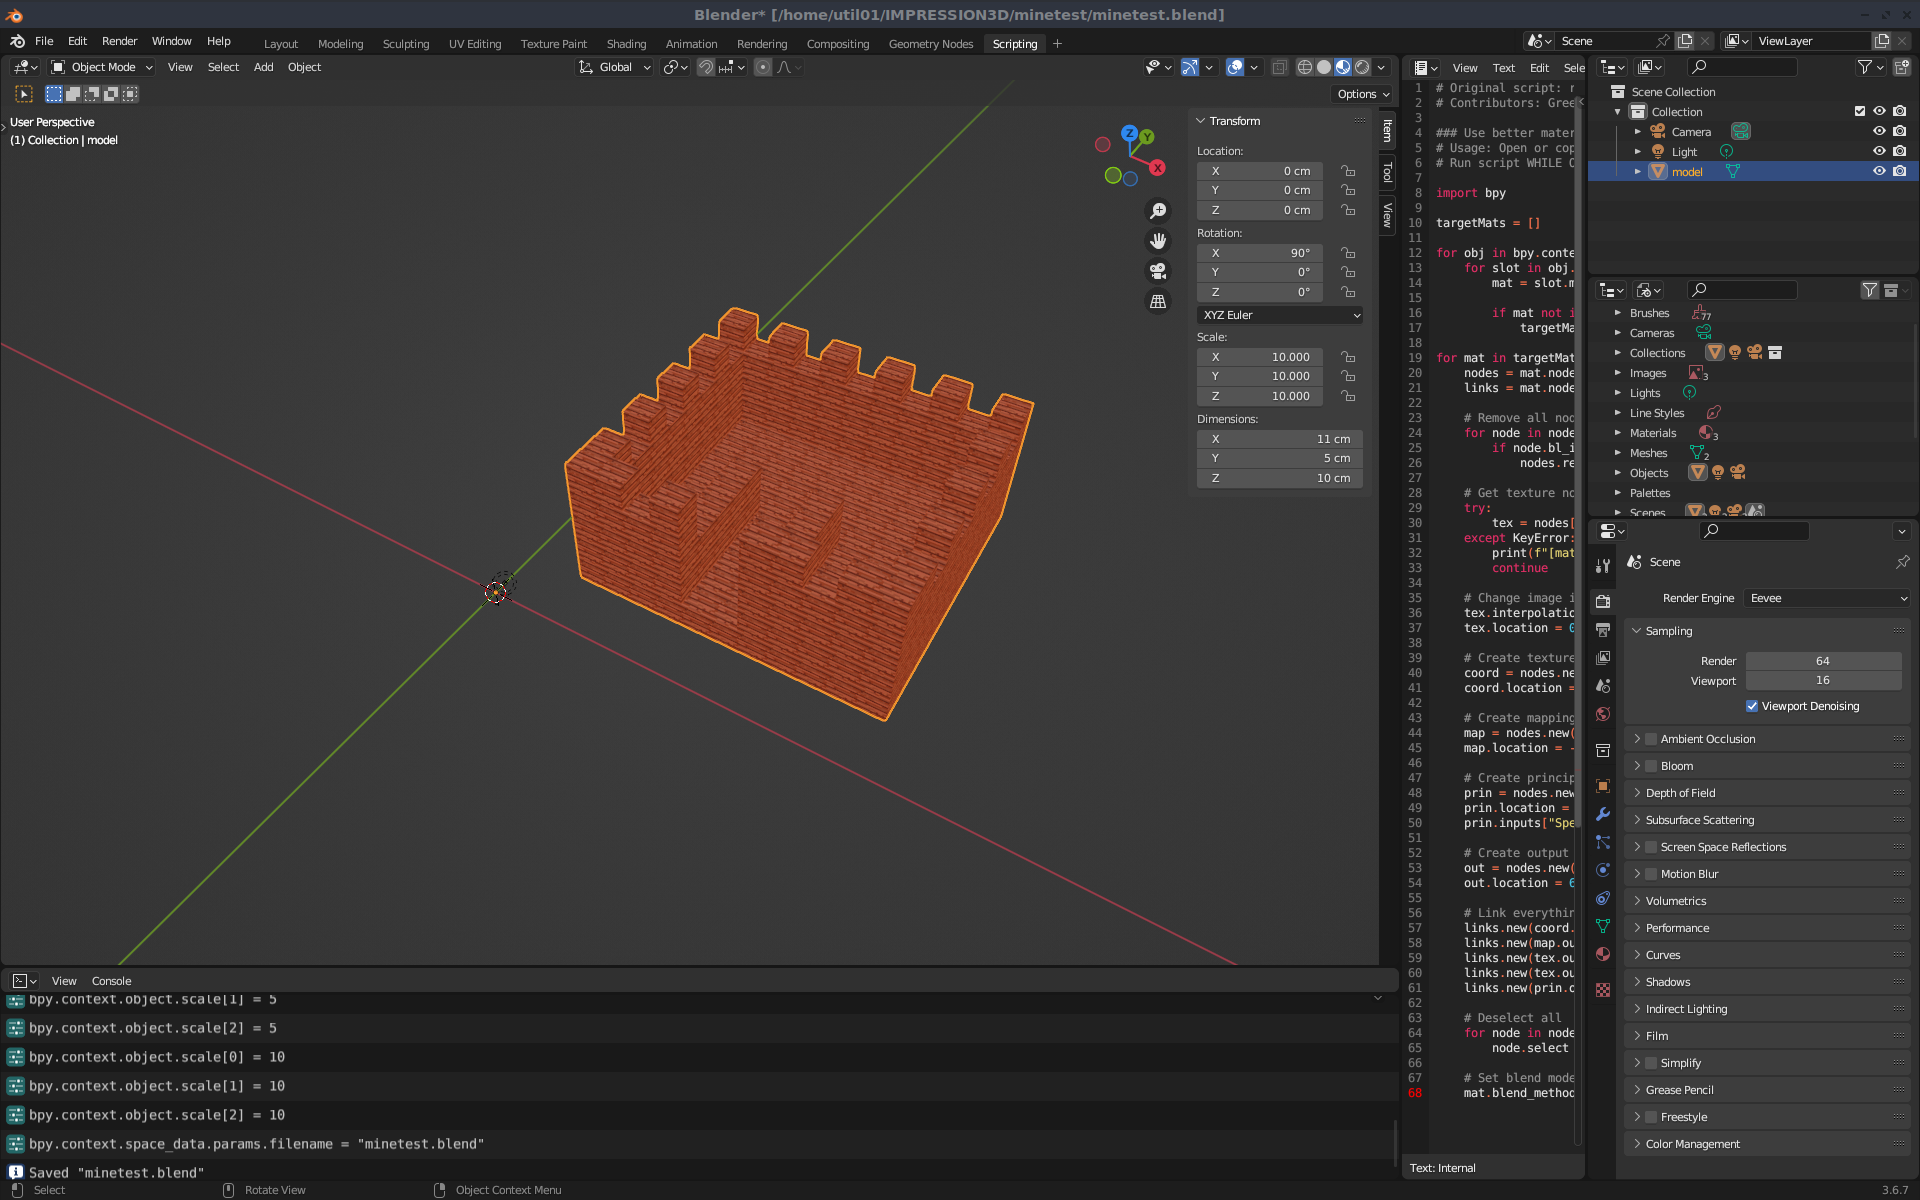
- Modifier l'échelle de l'objet pour avoir une impression 3d du château plus grande.
Dans mon cas, j'ai multiplié par 5 les dimensions du château, on aura donc un modèle réel de 5.5 cm x 2.5 cm x 5 cm

3/ Importer les textures.
- Afficher la fenêtre de script, en cliquant sur l'onglet [Scripting].

- Clique sur le bouton [+ New] pour créer un script Python :
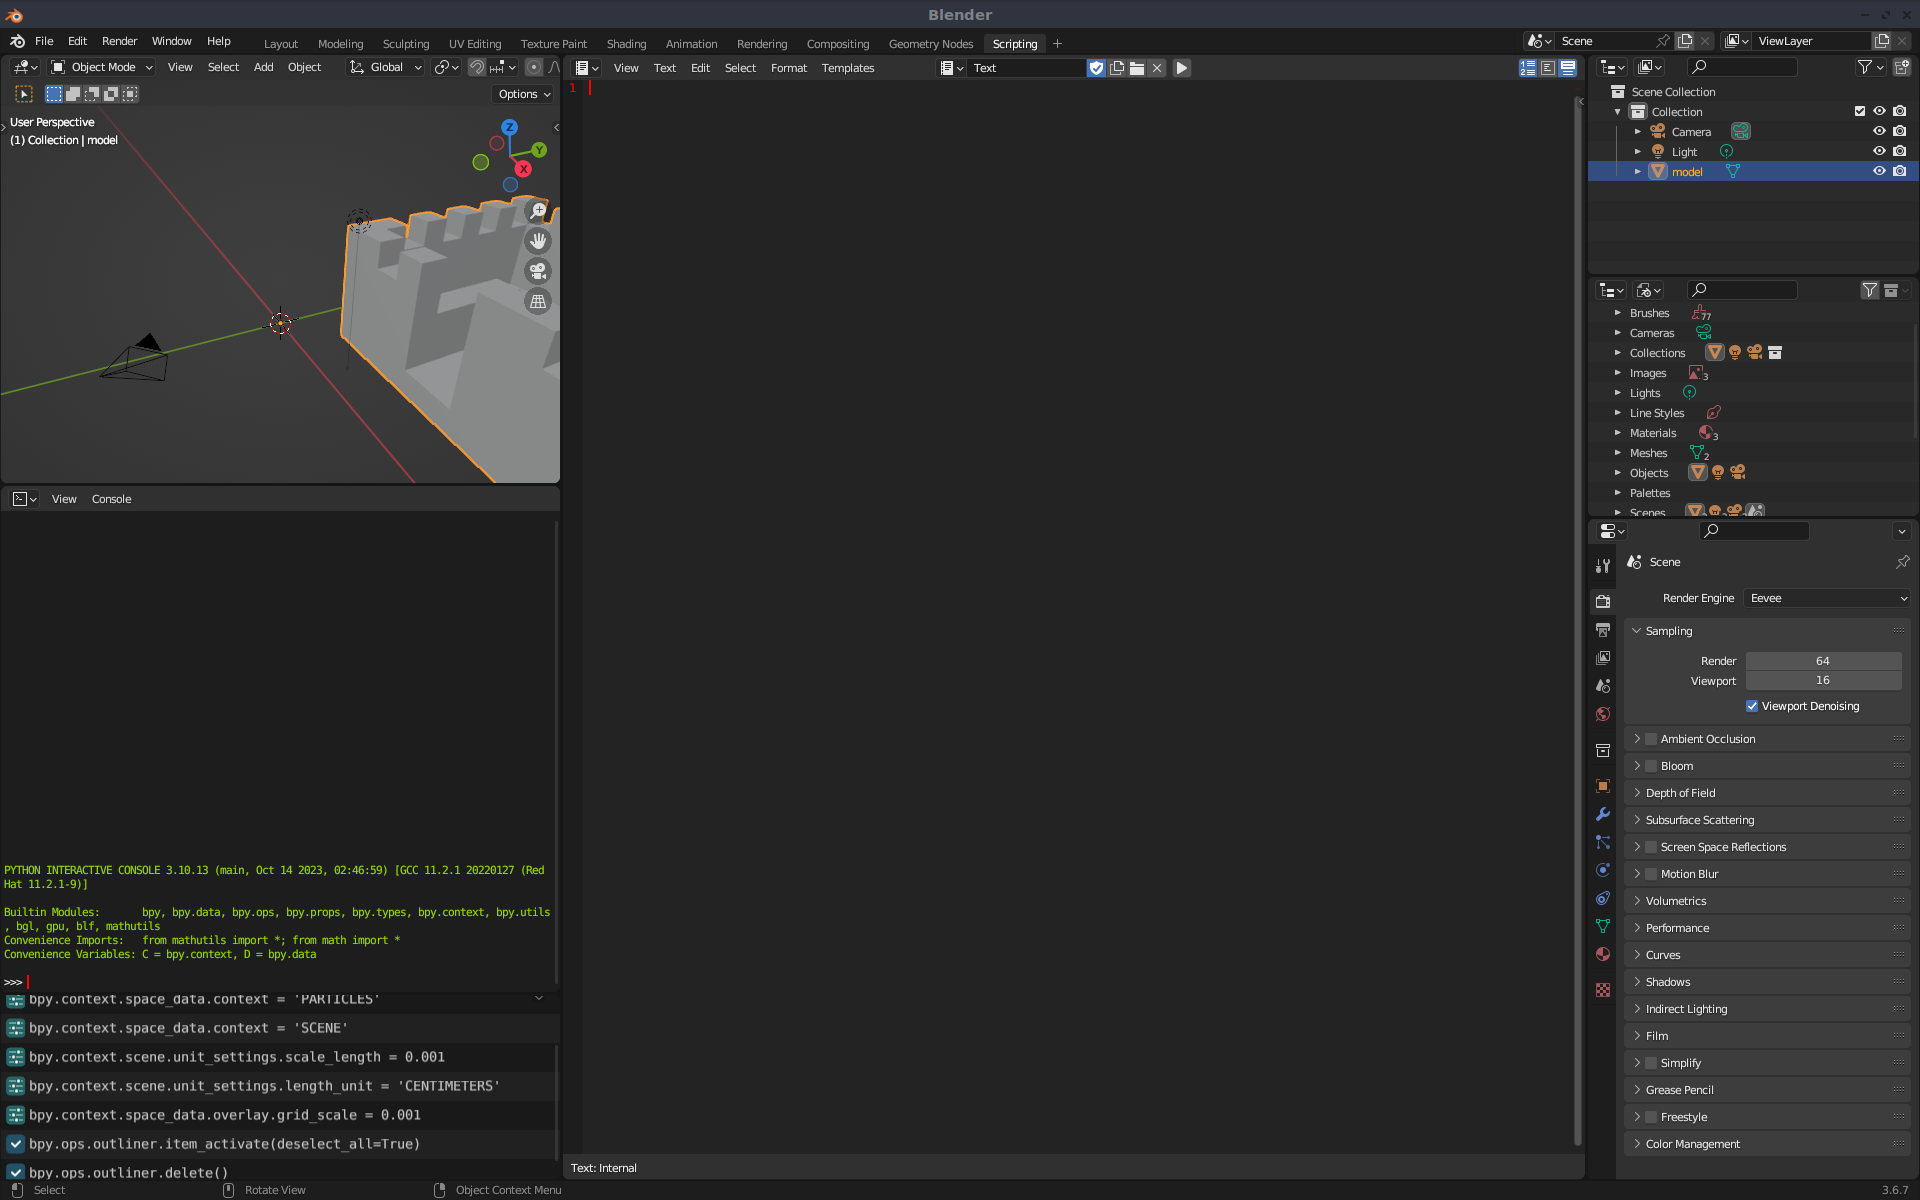
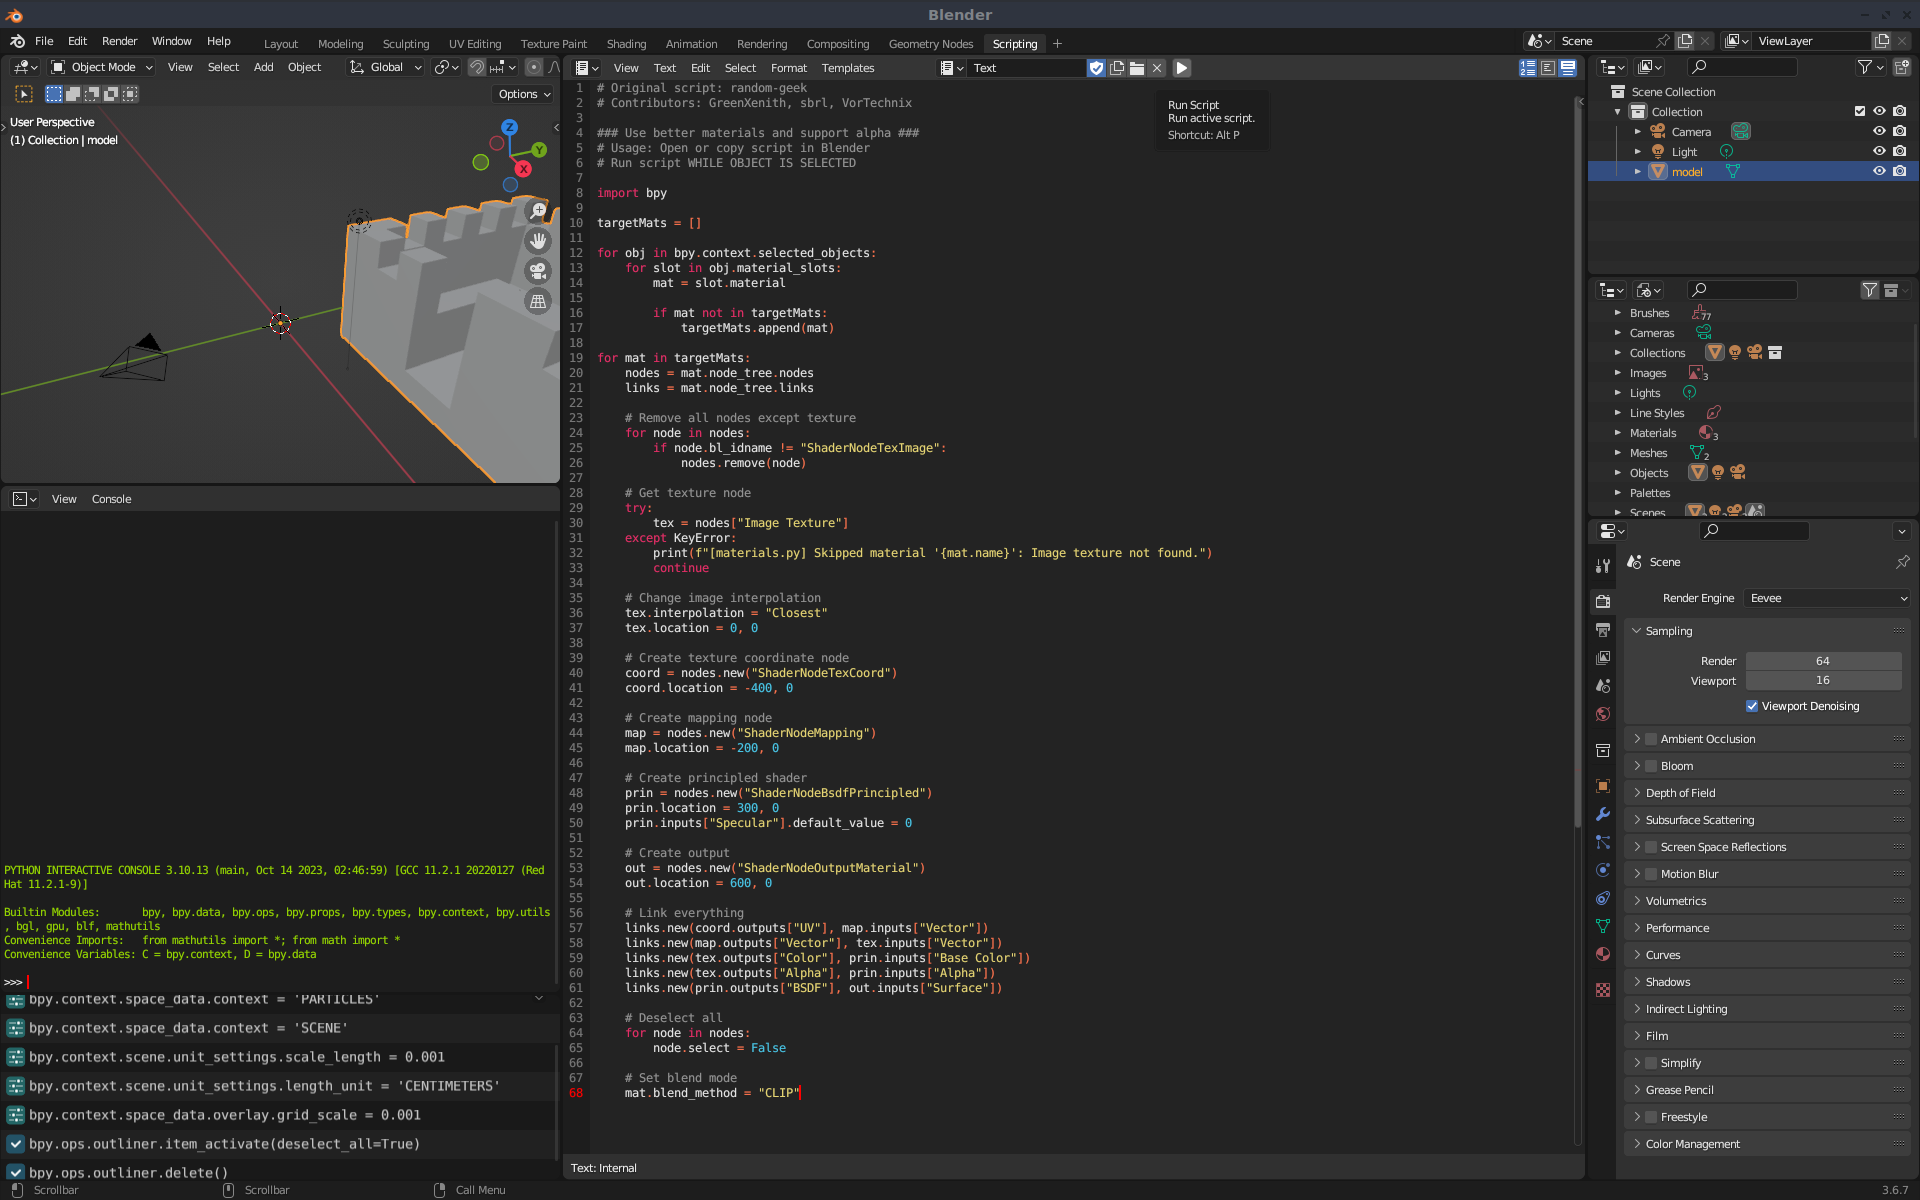
- Copier/Coller le script suivant :
~/JEUX/MINETEST.580/minetest/mods/meshport/materials.py
- Puis lancer le script :
- Revenir à la fenêtre de visualisation. Dans la zone [Viewport Shading], cliquer sur le bouton : [Display in Material Preview Mode] pour afficher les textures.
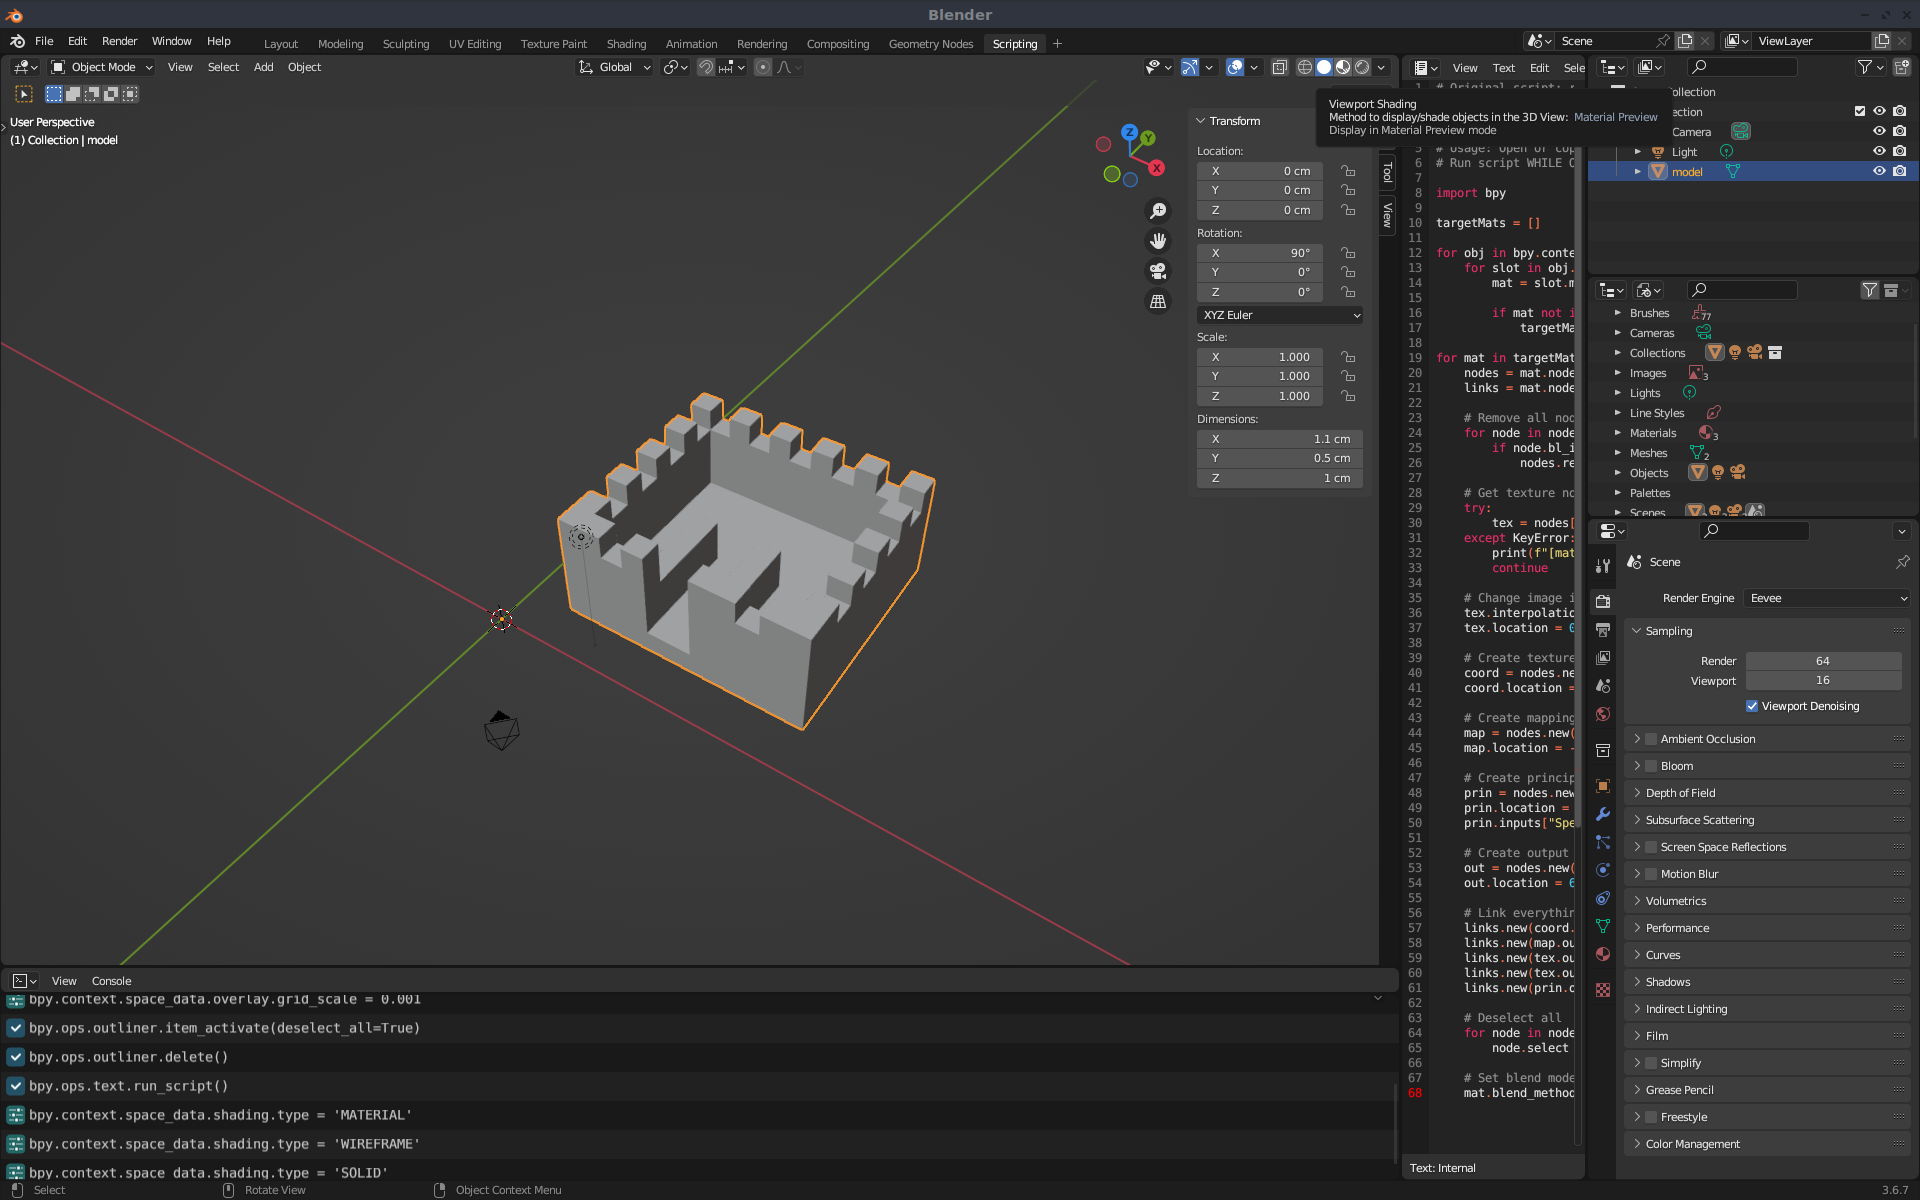
Soit :
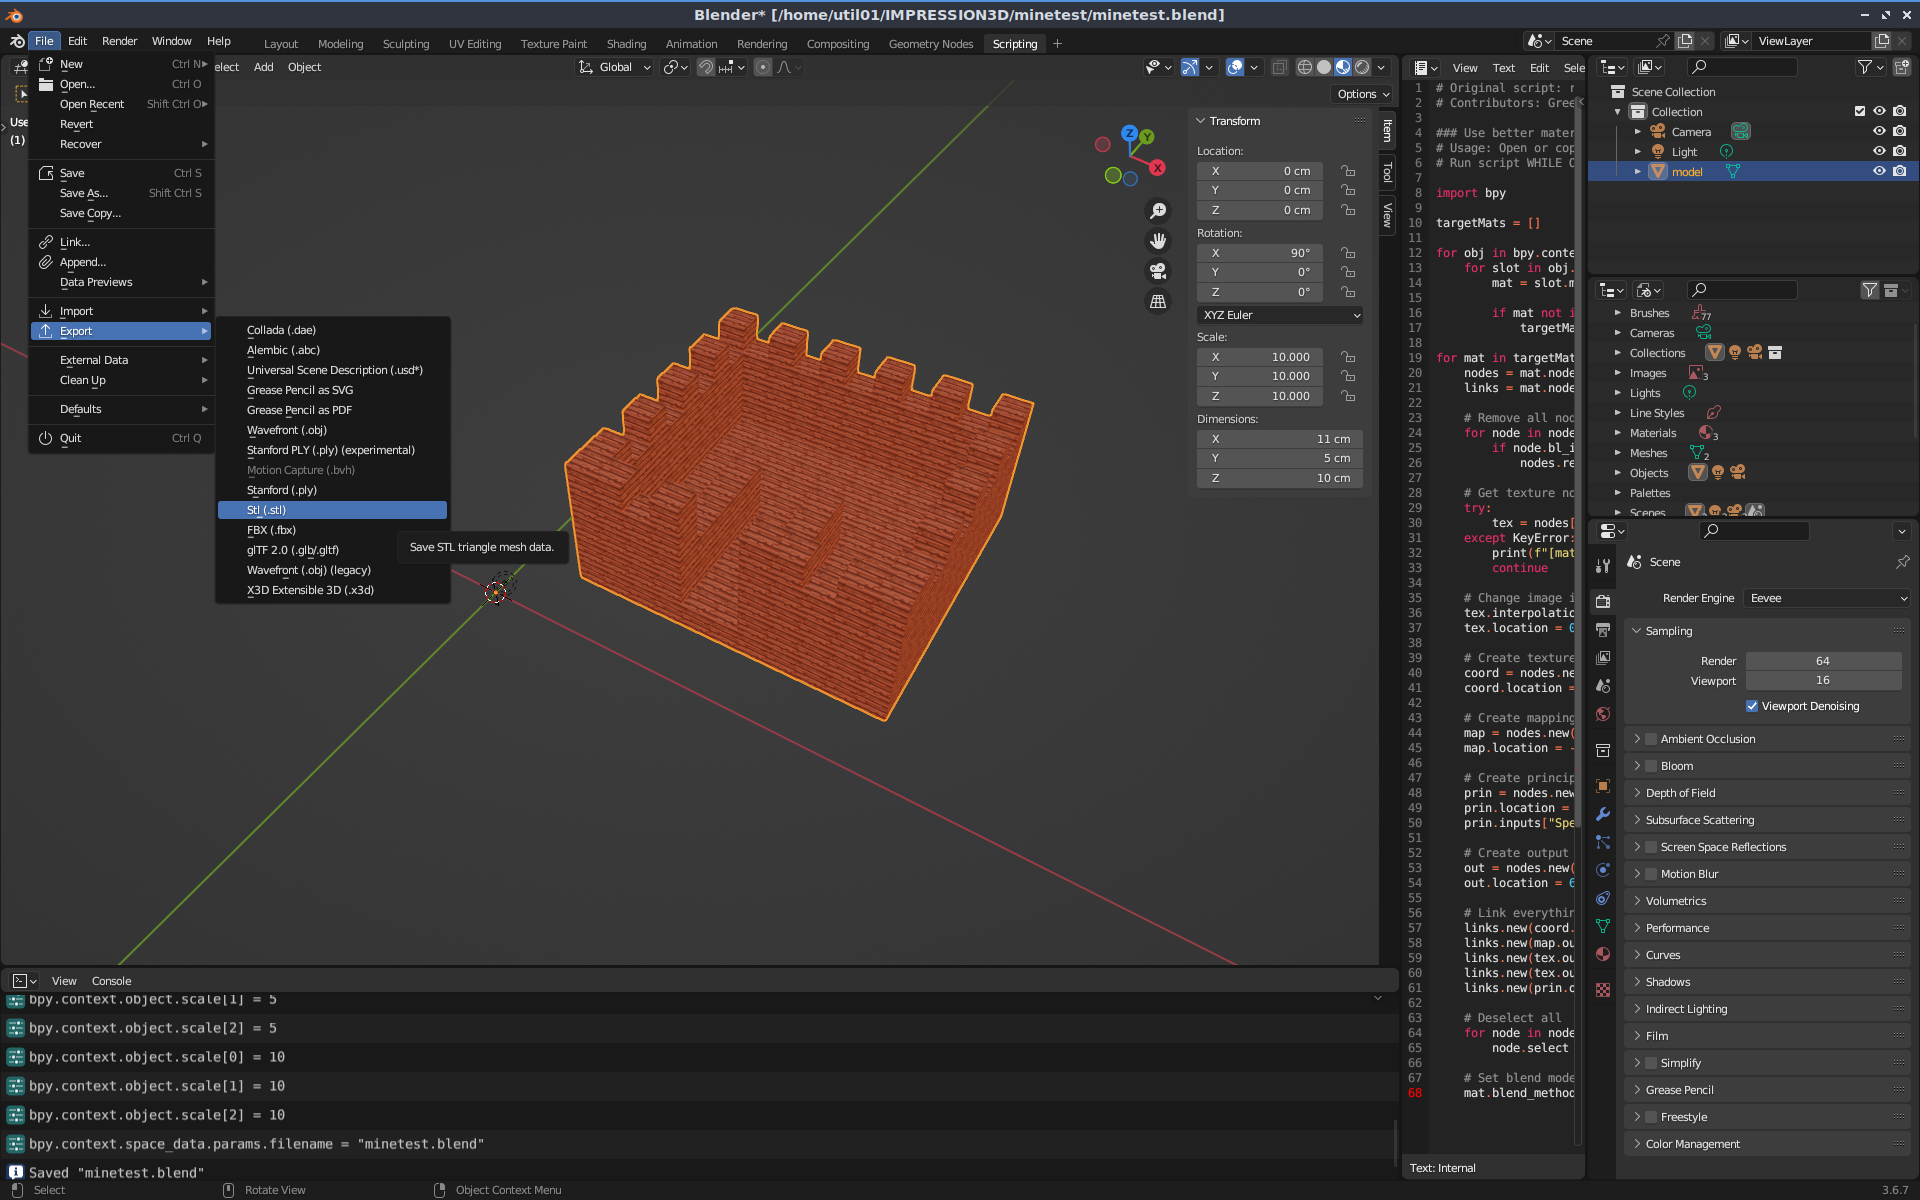
4/ Export au format stl.
- Sélectionner l'objet.
- Sélectionner le menu : [File] > [Export] > [Stl (.stl)]
- Dans la zone [Include], sélectionner : Selection Only
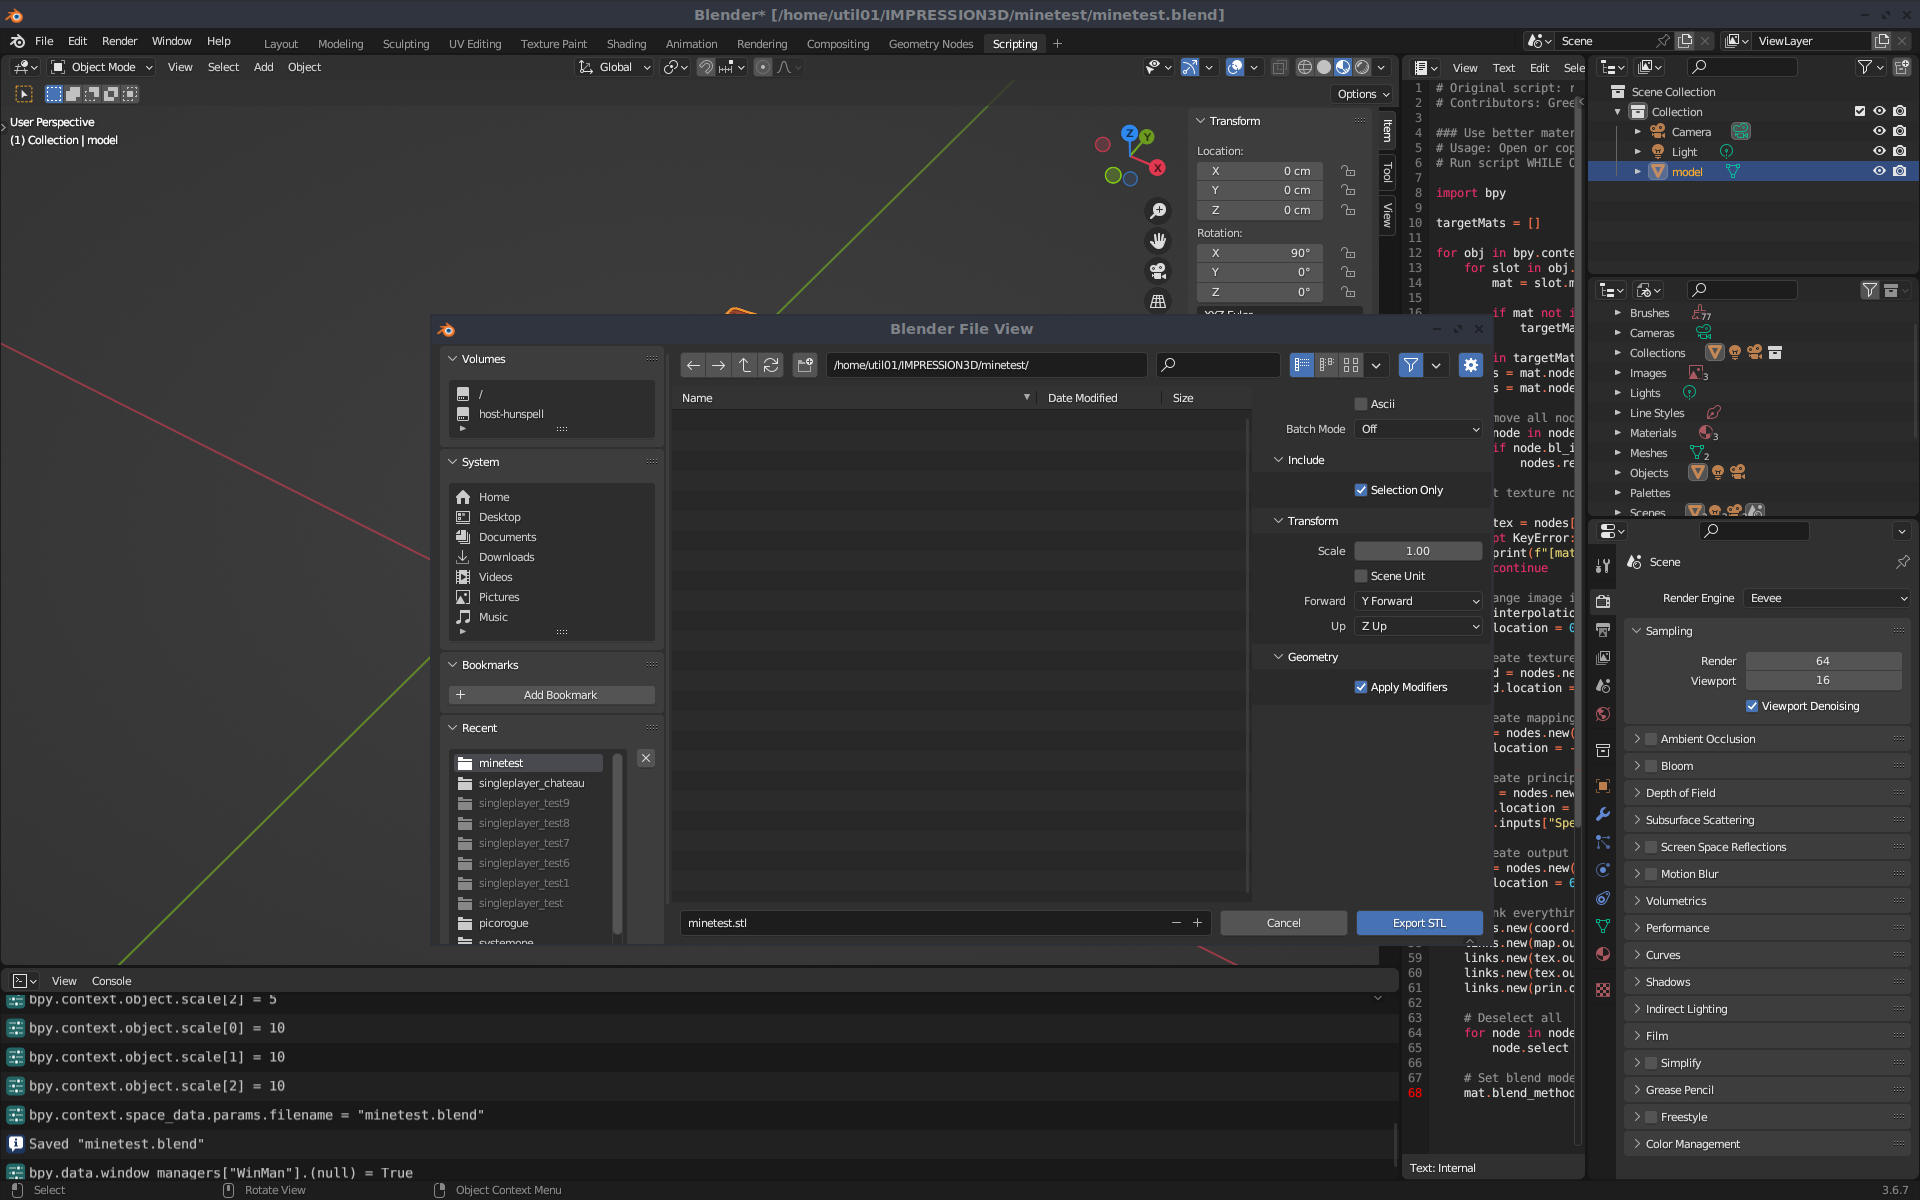
- Cliquer sur le bouton [Export STL].
5/ Sous Cura 4.4.1, charger le ficher au format stl :
- Lancement de Cura en ligne de commande :
util01@station40:~$ cd IMPRESSION3D/
util01@station40:~/IMPRESSION3D$
util01@station40:~/IMPRESSION3D$ ./Ultimaker_Cura-4.4.1.AppImage - Charger l'objet :
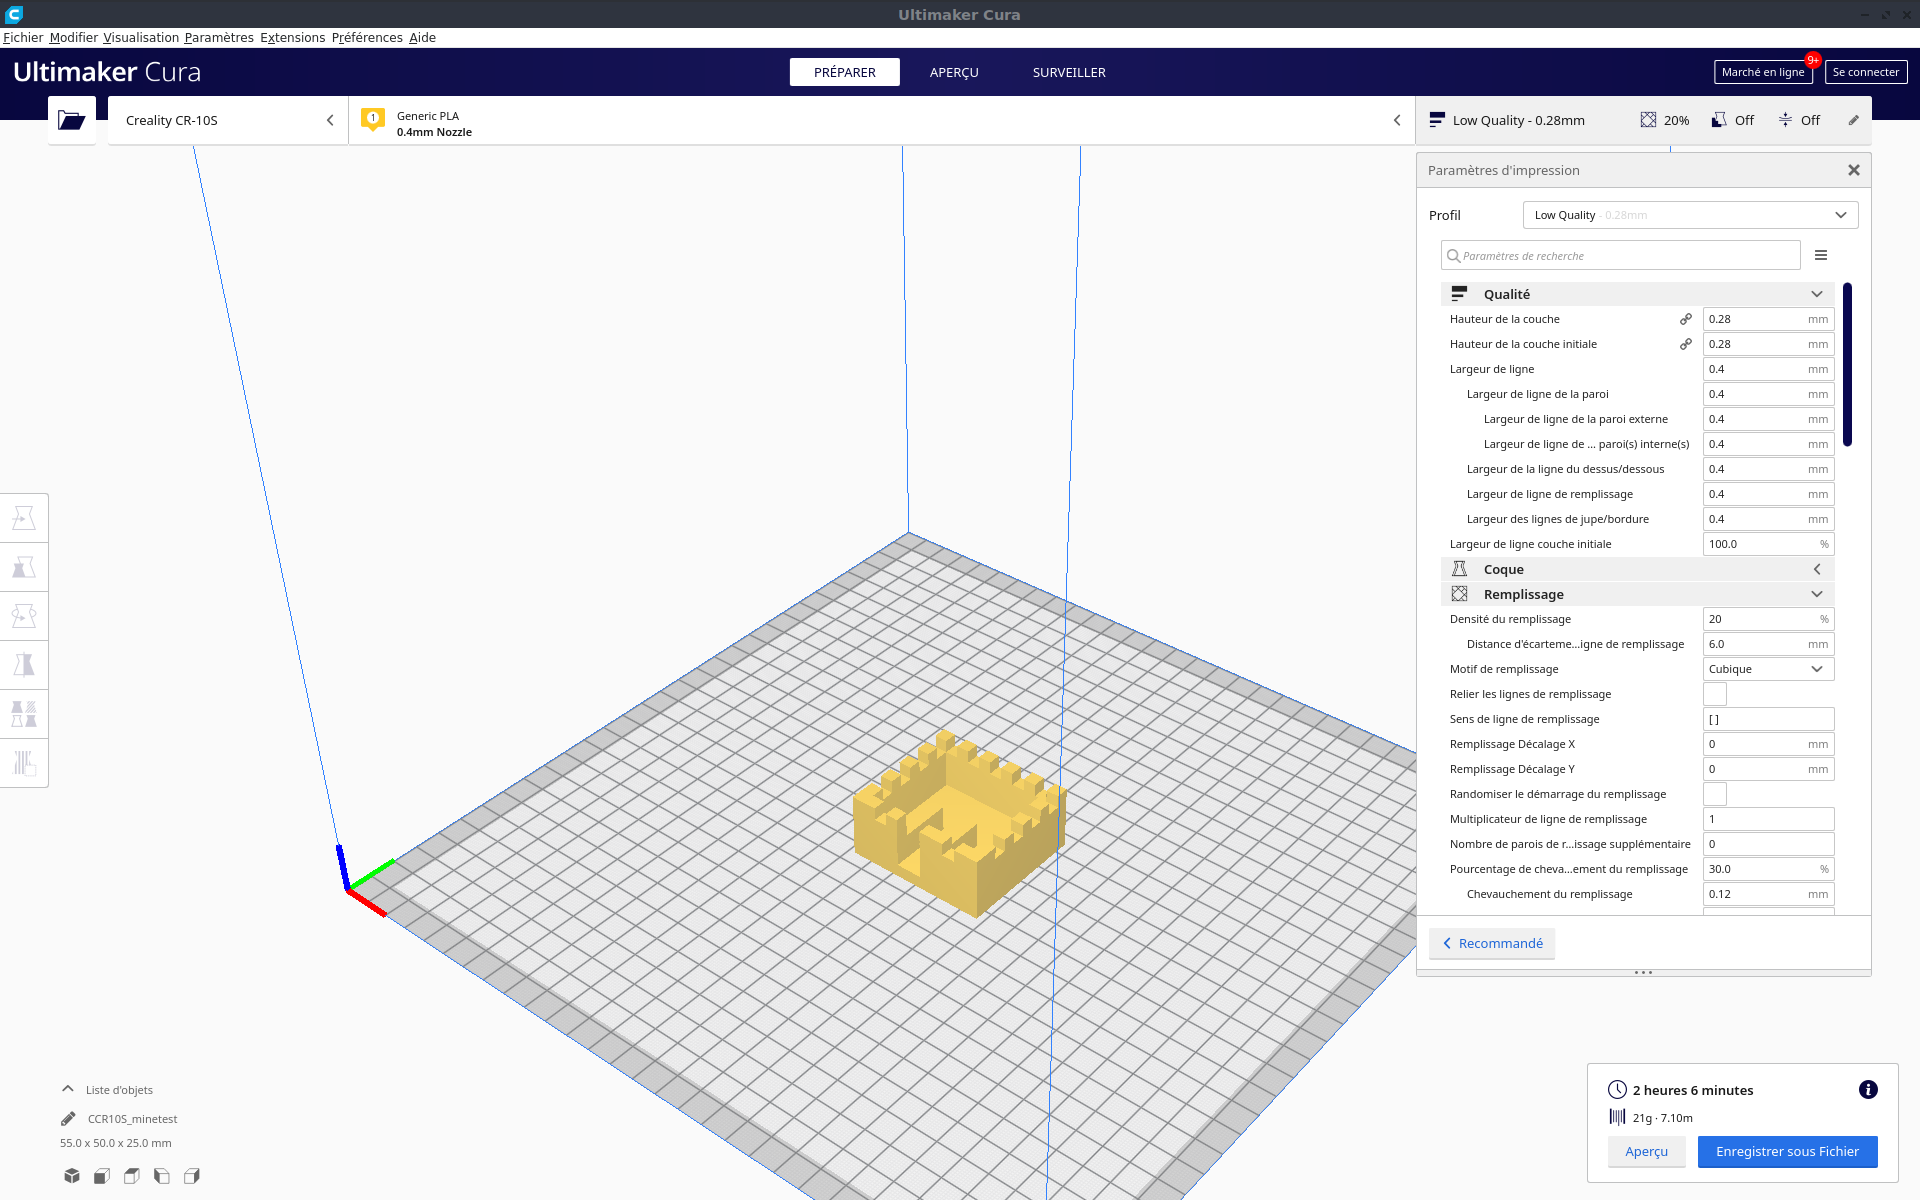
Vous pouvez maintenant 'slicer'/'trancher' l'objet pour une impression 3d.
6/ L'objet fini en impression 3d.